This project started in 2013. It had no strict deadline, as it was done in between other projects. The brief was to produce a large wall mosaic for a farmhouse in the argentine Patagonia. The scale was taken in proportion to the size of the area, in this case, a large living room with very high ceilings. The subject was not defined at first, but in progressive discussions with my client, and as I was given a certain amount of freedom to propose and suggest themes that would fit into that kind of property and area, the first ideas started to emerge and many were discarded as the focal point was being narrowed down.![]()
![]()
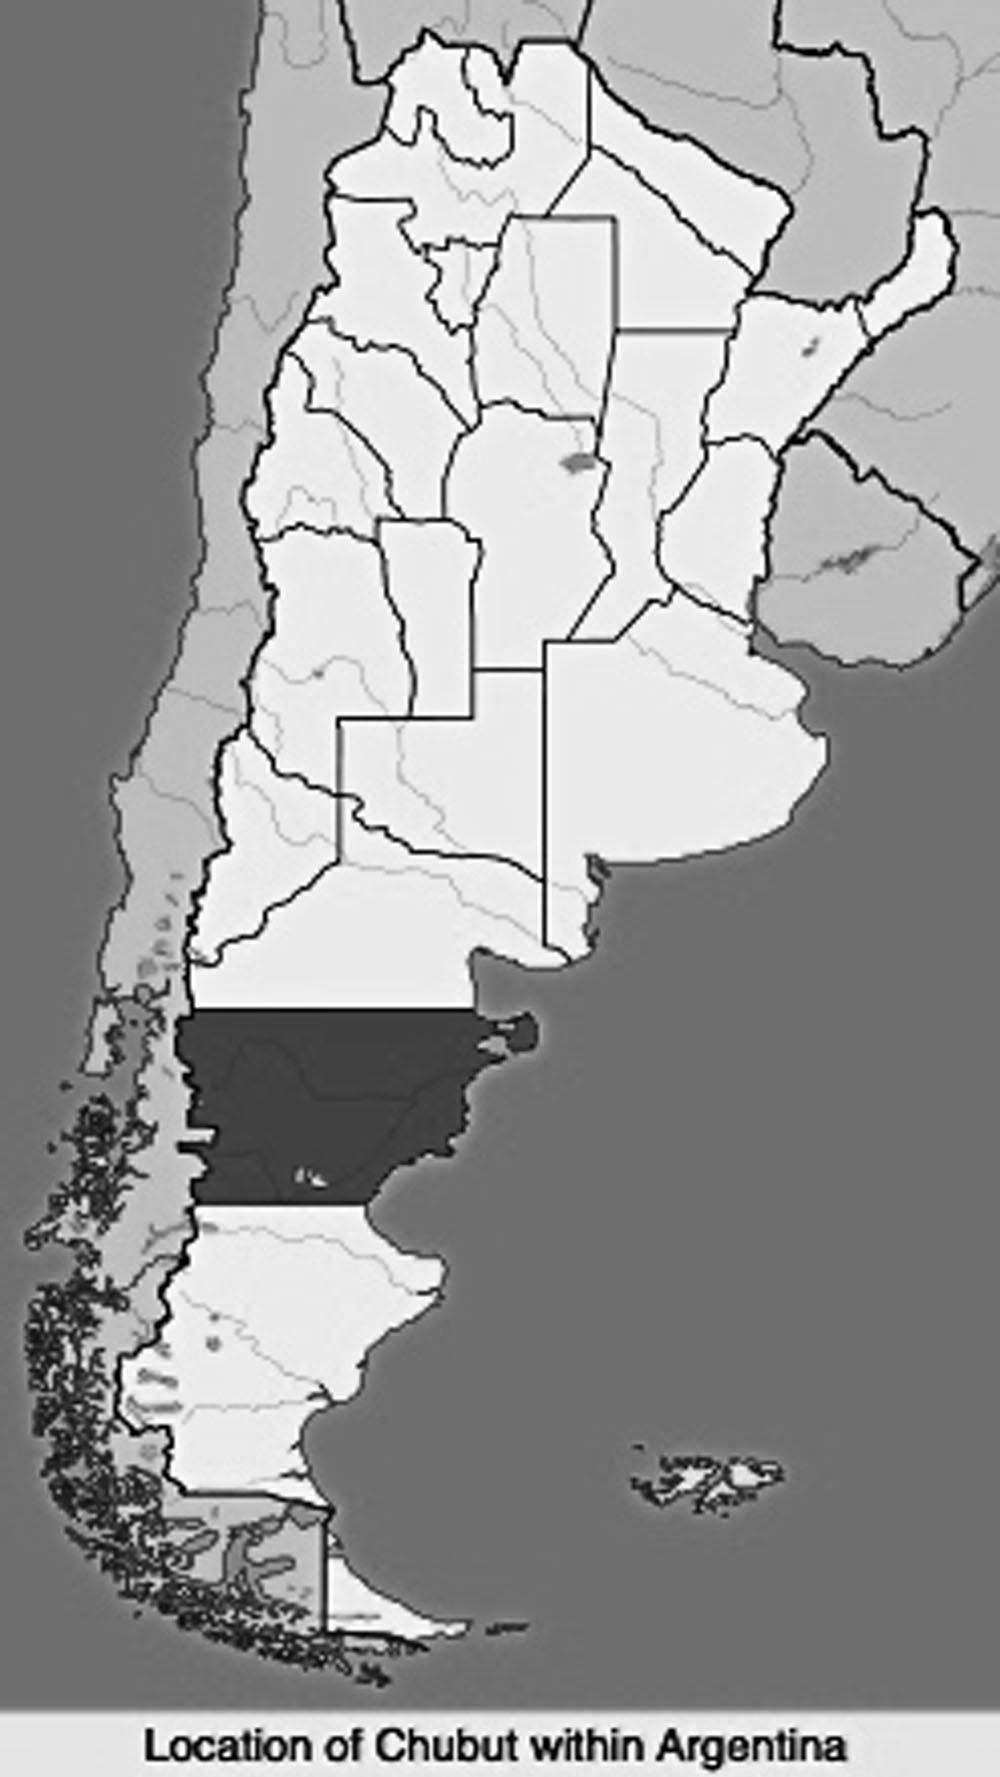
Considering the various elements given as a theme, i.e. the 1865 Welsh immigration to Patagonia, the first settlements into the Chubut Province, etc, my proposal took the shape of the province itself,
with inside an image of the ship “Mimosa”, that brought the pioneers to the desolated areas of the south hemisphere.
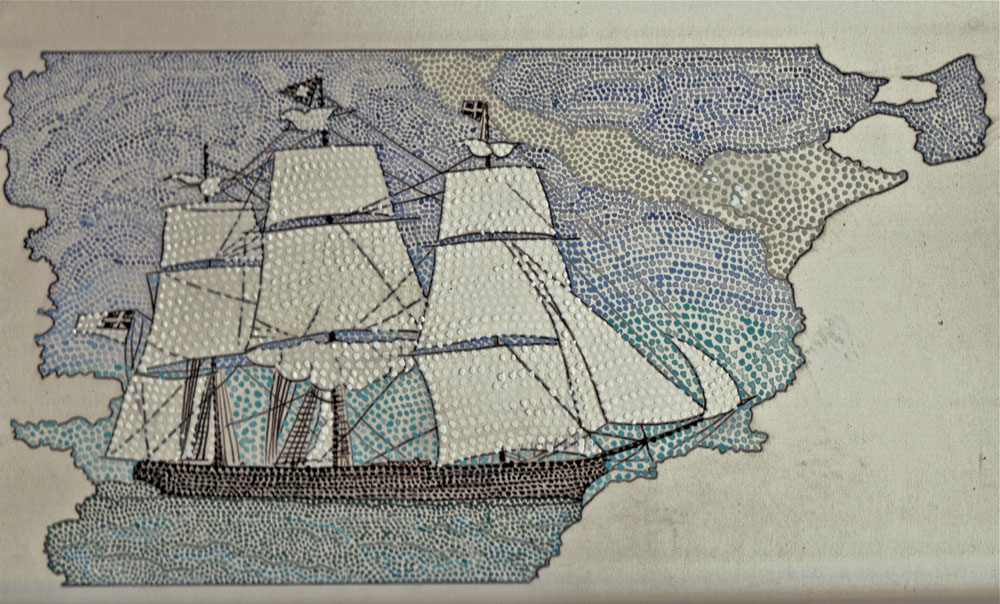
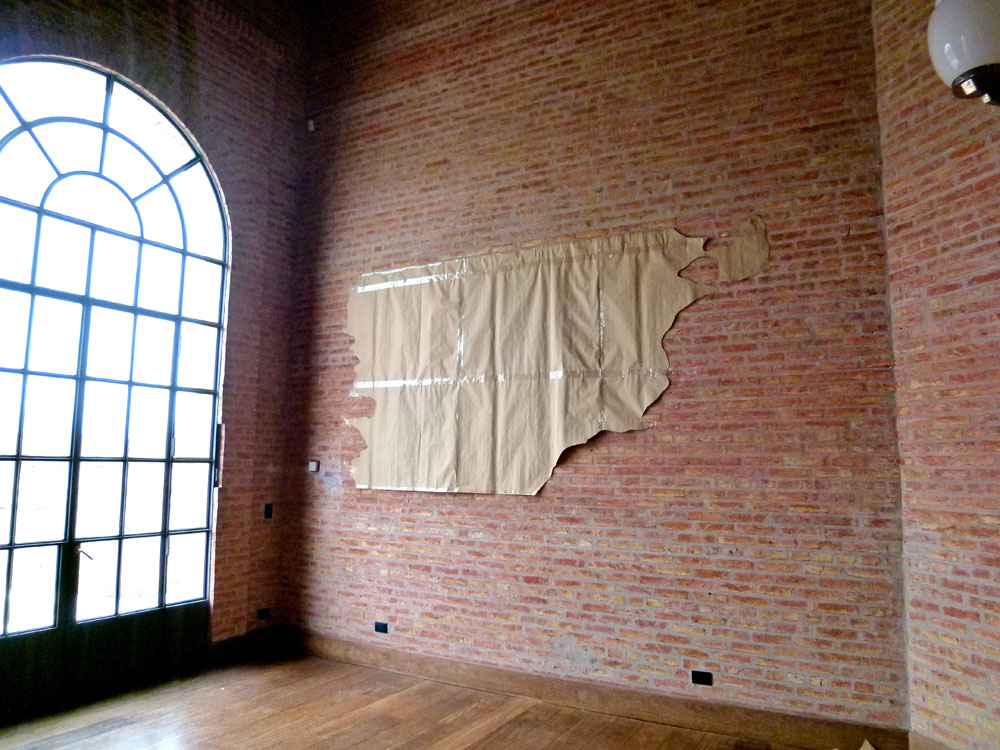
Work started once the water-color sketch was eventually approved and the costs as well as the technicalities and deadlines were duly discussed and agreed. The first task was to draw the outline on soft paper first (done on site)
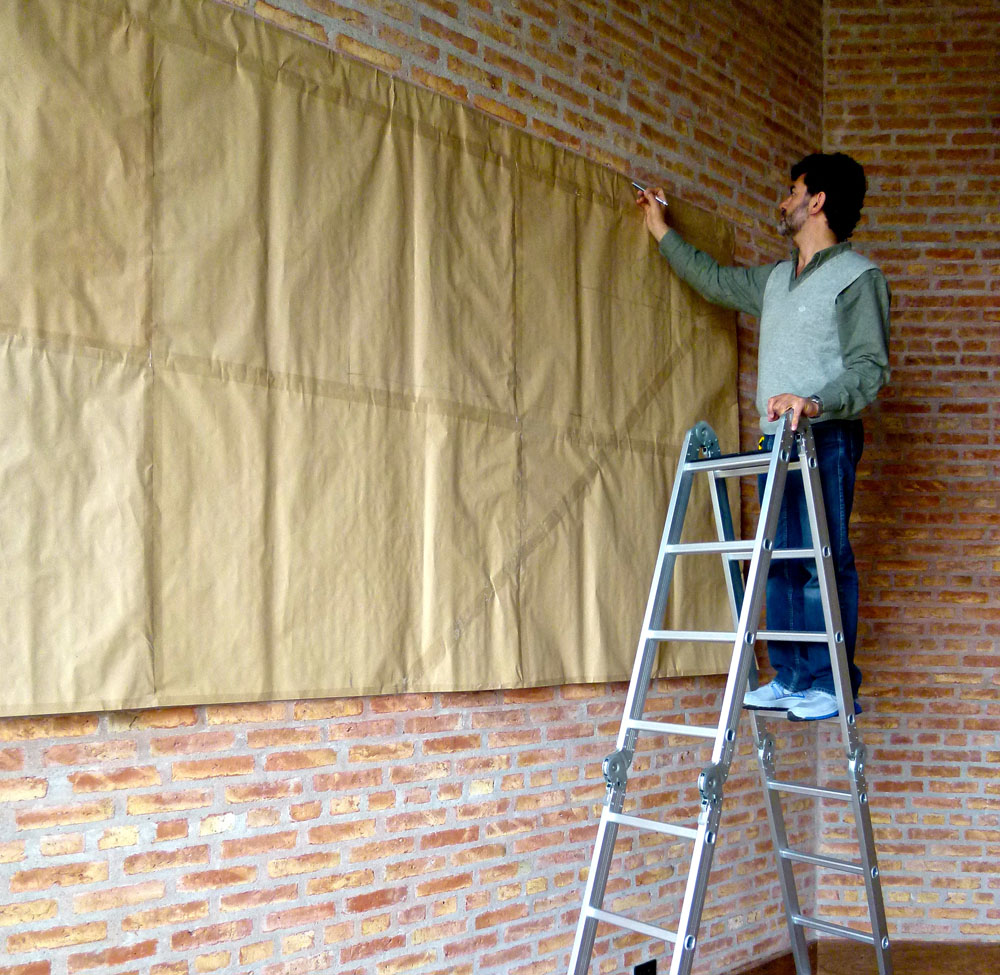
and cut the shape on the paper to figure out the correct dimensions and proportions, considering that the living room had been designed by an architect following the golden ratio,
and later on (in my London studio) transfer it to a hard paper that would be strong enough to resist the water-based glue applied to it and the weight of the tesserae.
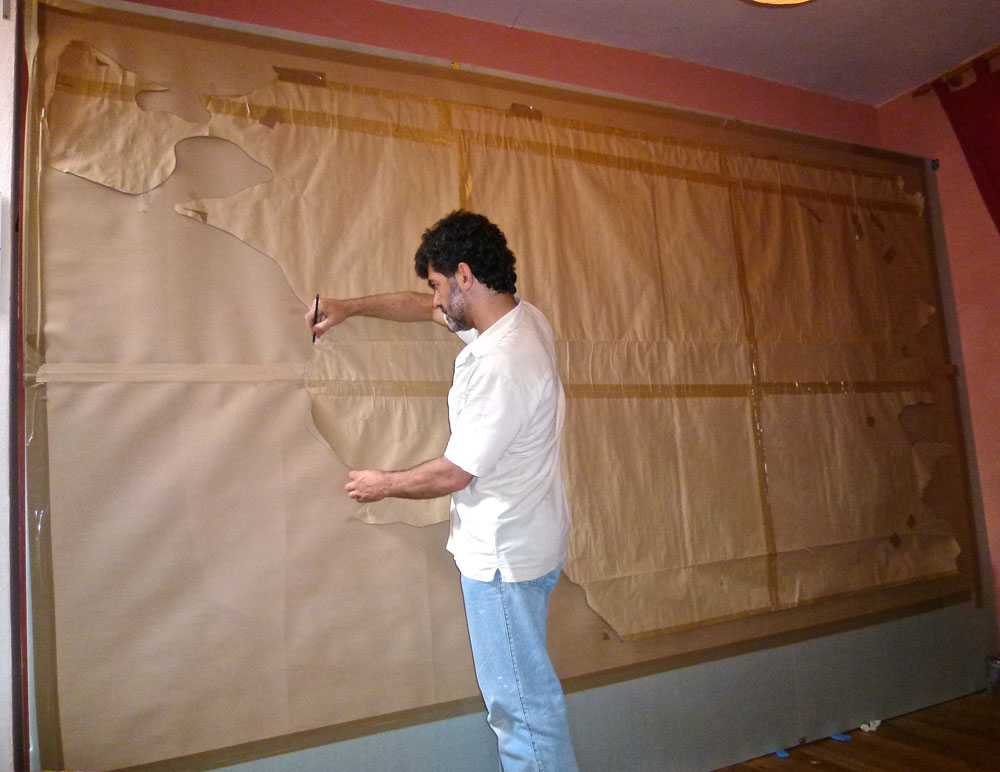
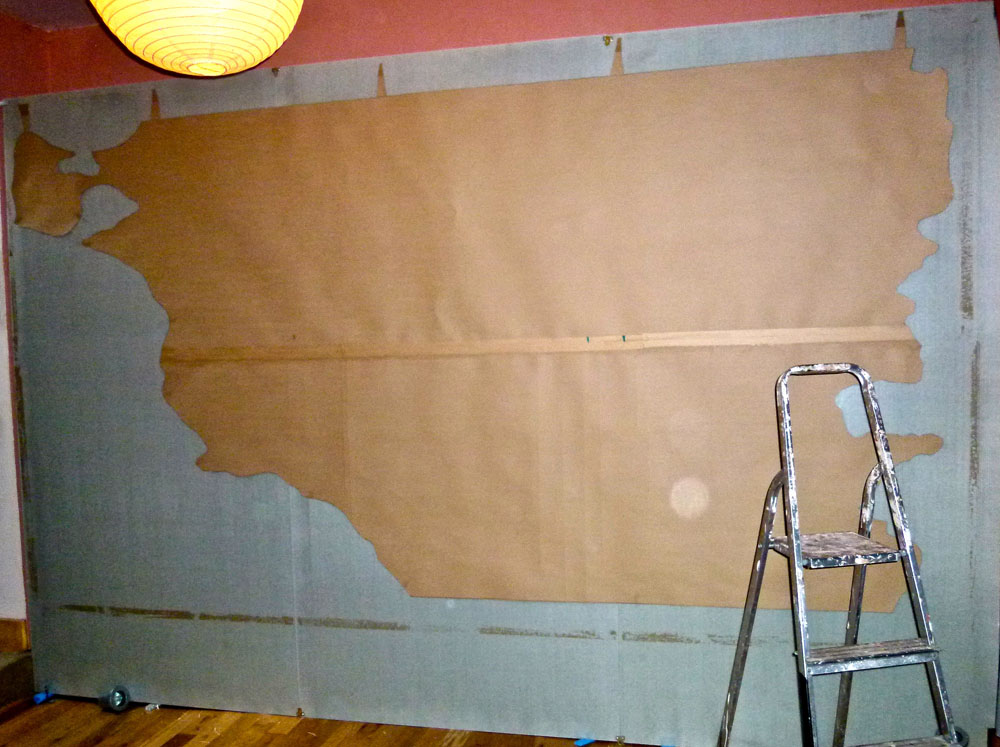
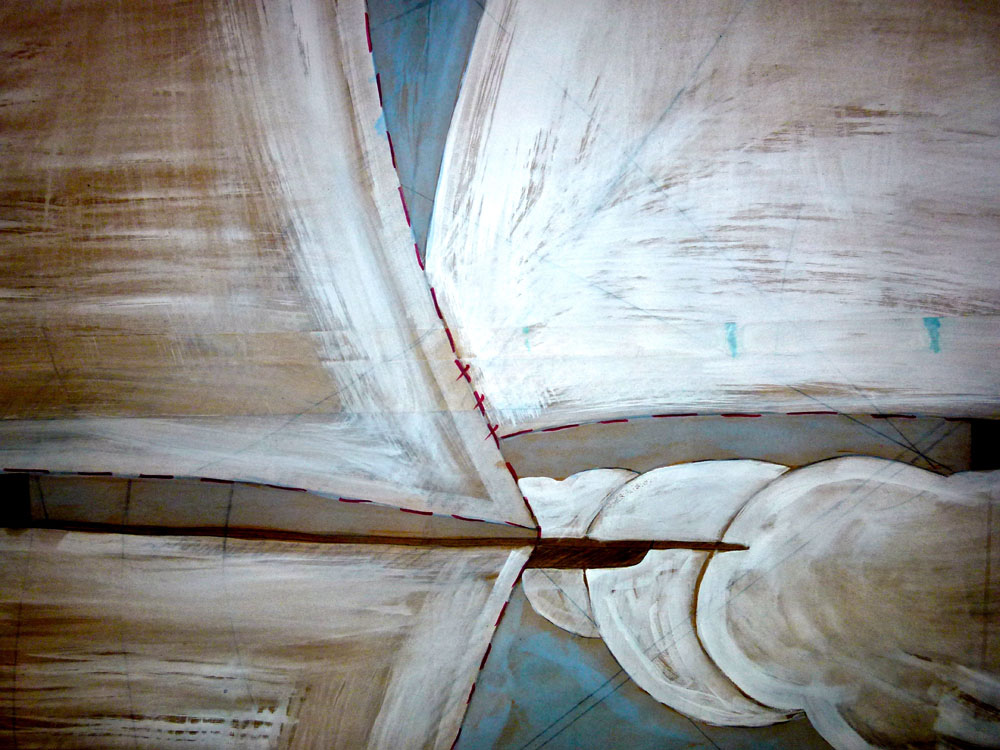
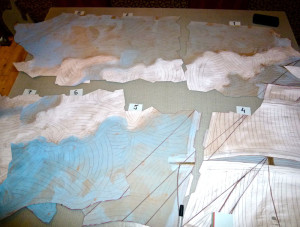
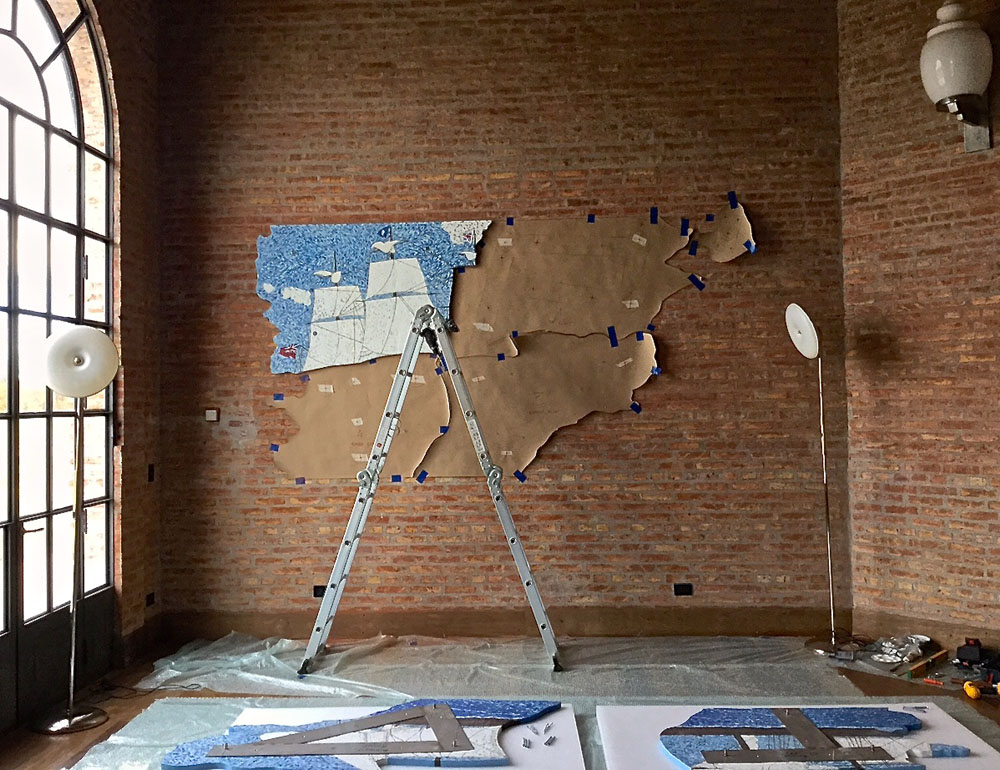
Here’s how the template in hard(er) paper looks like. This shape is not just casual, it corresponds to the actual borders of the Chubut province. The right hand side would be the line that divides Chile and Argentina, the left hand side the limit between land and the Atlantic Ocean. Note that the shape has been drawn as if in a negative, this is because this particular mosaic follows the so called double-reverse or indirect method. You always work on the back of the paper, as it were. The final image, when reversed at the end, will correspond with the initial drawing, the true image.
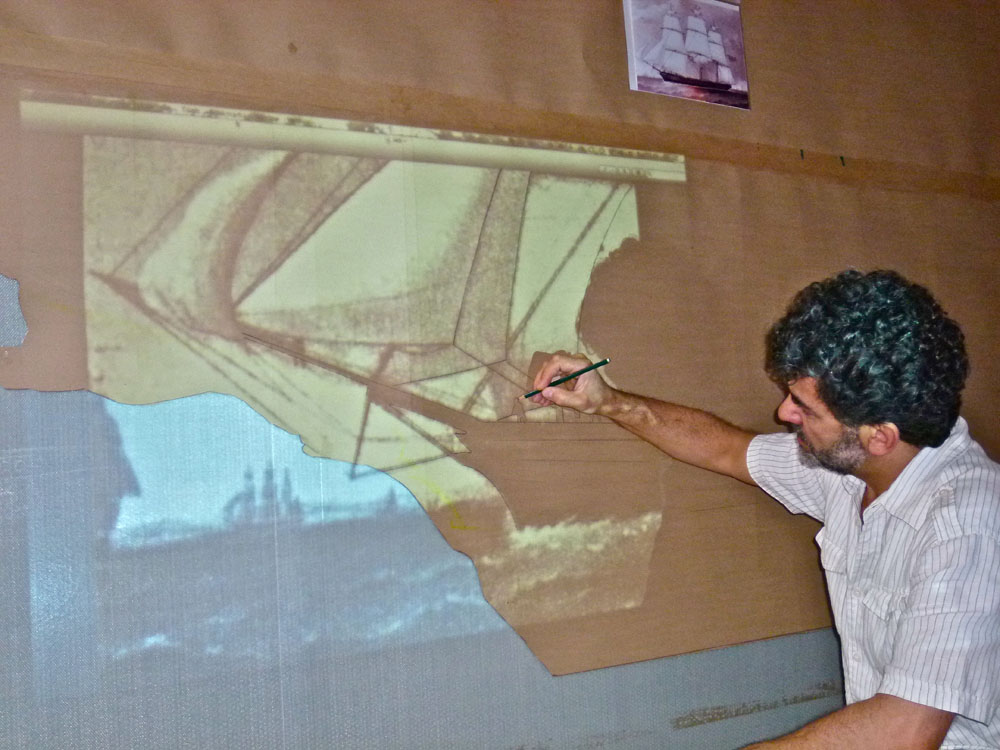
The next step would be to draw the image of the ship onto the paper. This could be done in two ways: freehand drawing or by projecting the image and just tracing it with a pencil. In a book called “Mimosa, the life and times of the ship that sailed to Patagonia”, I’ve found a photo of a painting of the ship, apparently, the only one available. After scanning the image I realised that the space I had was not long enough to project the whole image onto the paper, I needed at least 5 m distance in order to have it whole. I had only 3 at the most. So I decided to project it in 9 sections and try and fit the pieces as accurately as possible. This was a bit of a nightmare, but eventually I succeeded.
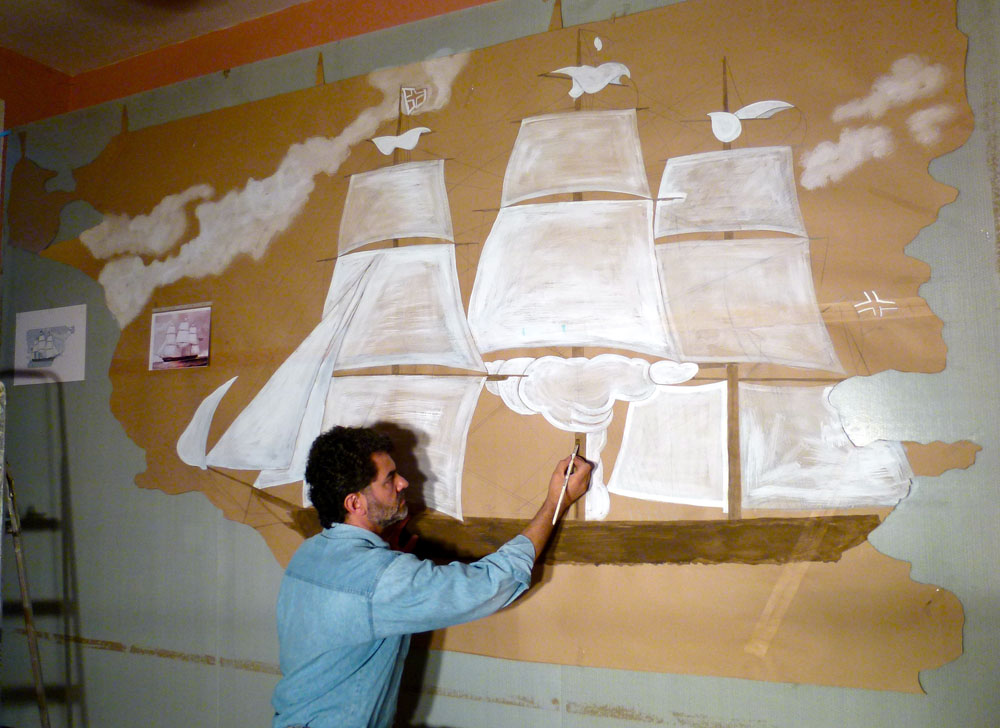
After projecting and drawing all the sections, I started to give a bit of color with acrylics only as a guideline.
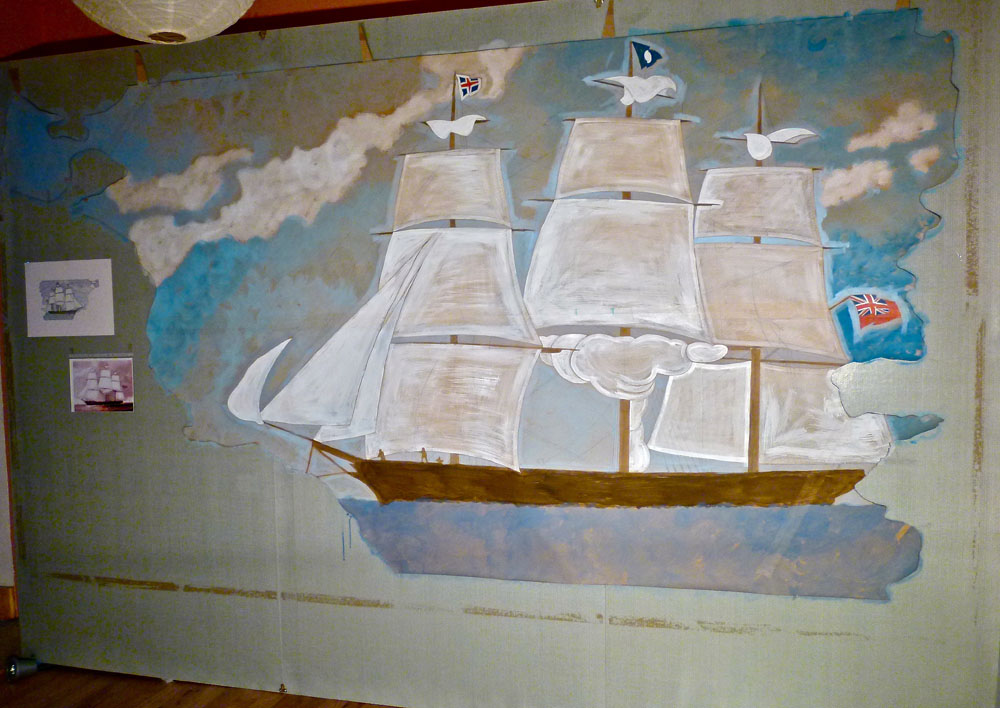
A more pictorial effect after the addition of blues and browns. This part of the process does not need to be too accurate. The creative aspect will come later with the choice of colors and gradients and with the tesserae itself in the way it is cut and positioned on the paper. The positioning is relevant in terms of the light reflection. Will expand on this later.
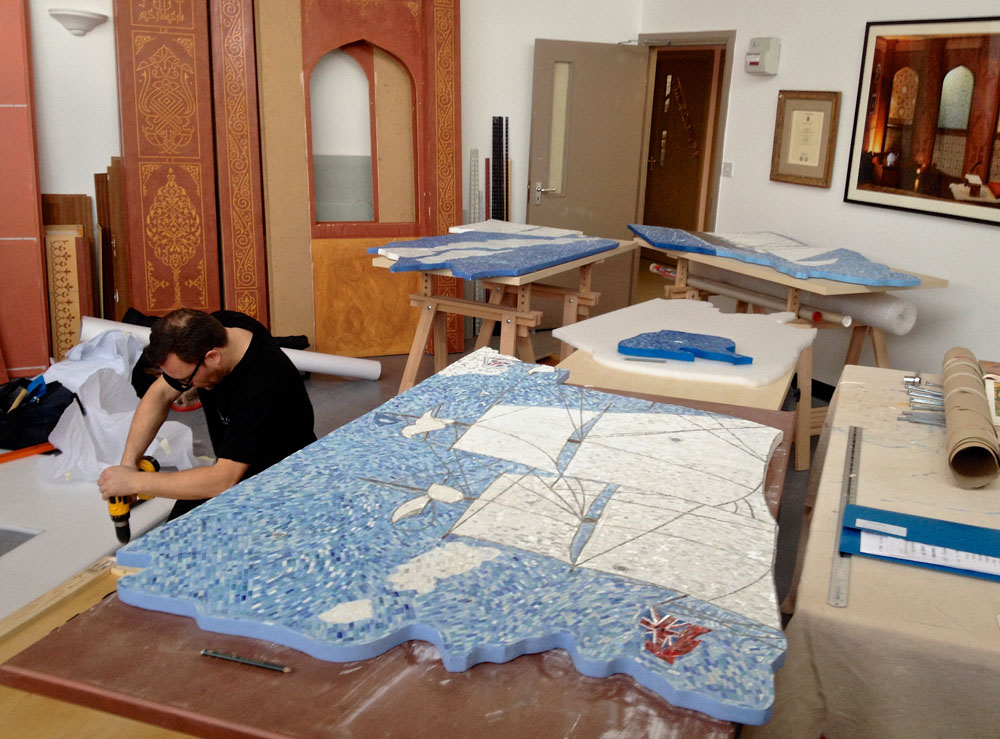
The mosaic measurements are 3.60m by 1.80m. This presents some challenges both in terms of production as well as transportation. We are talking of a shipment by sea (somehow paradoxically replicating the voyage done by the Mimosa at the end of the 19th century) 14 thousand kilometres away and a further trip by lorry to the south of the country. Too much movement for such a fragile puzzle of minute pieces of molten glass.
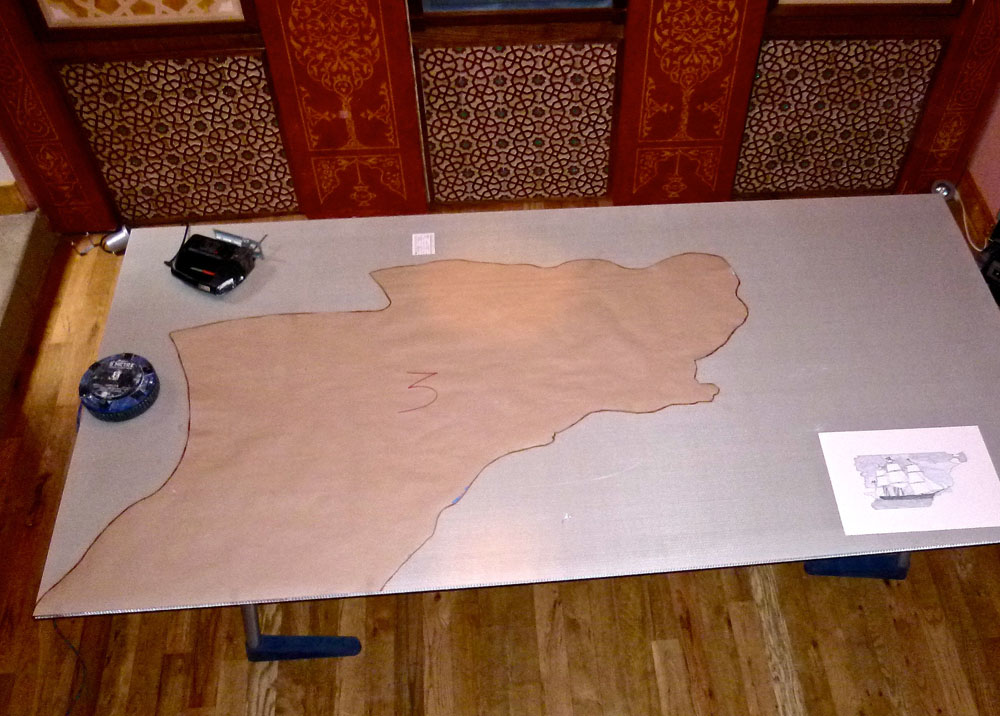
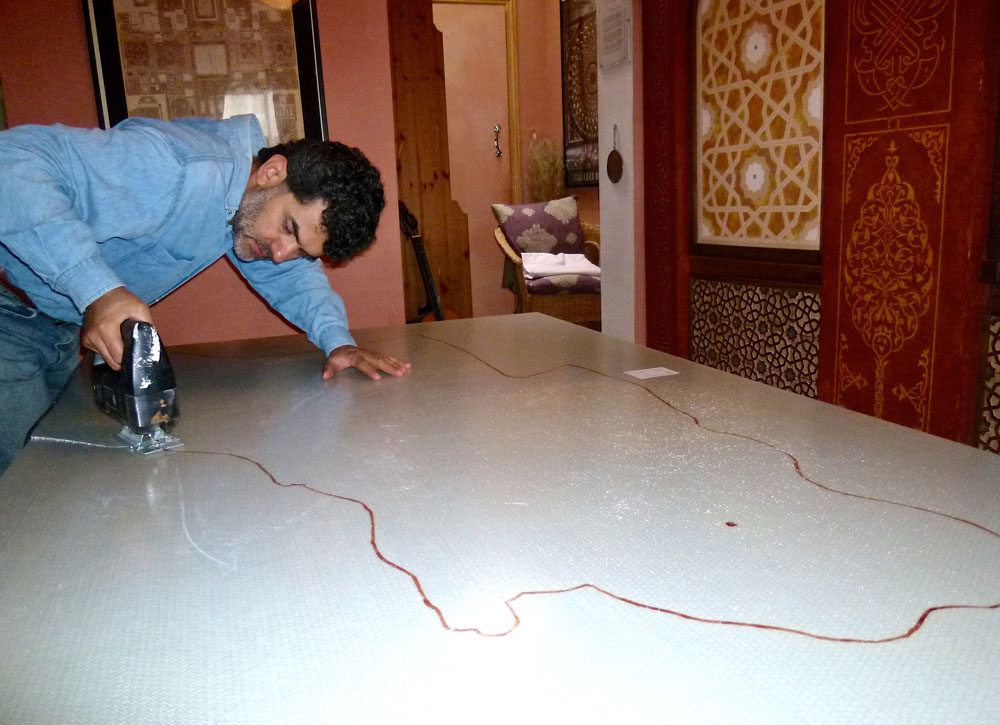
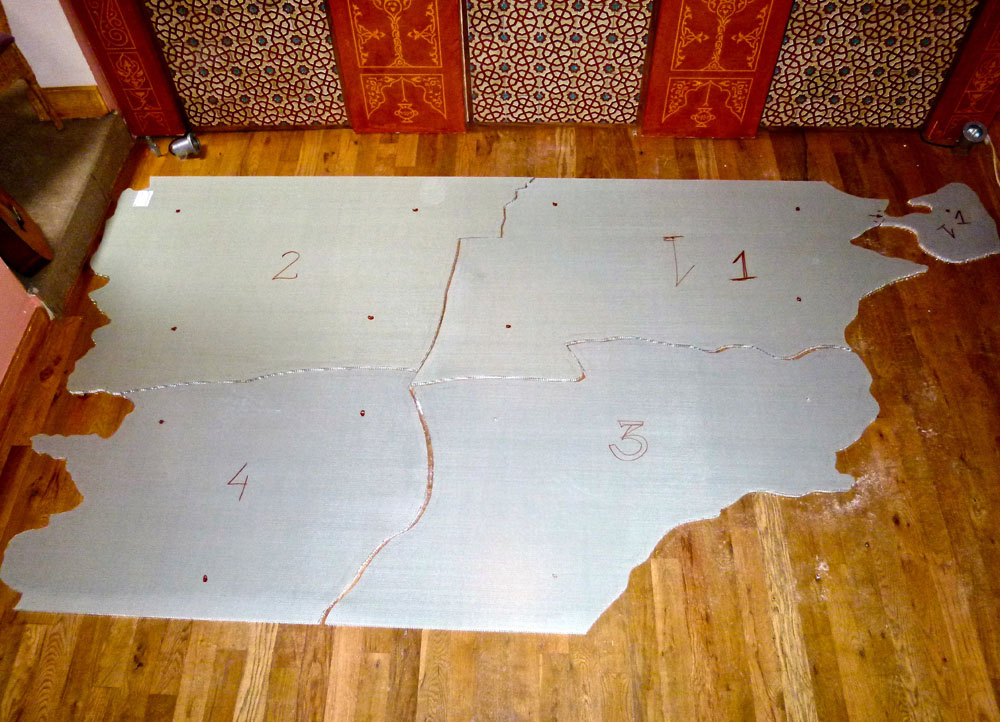
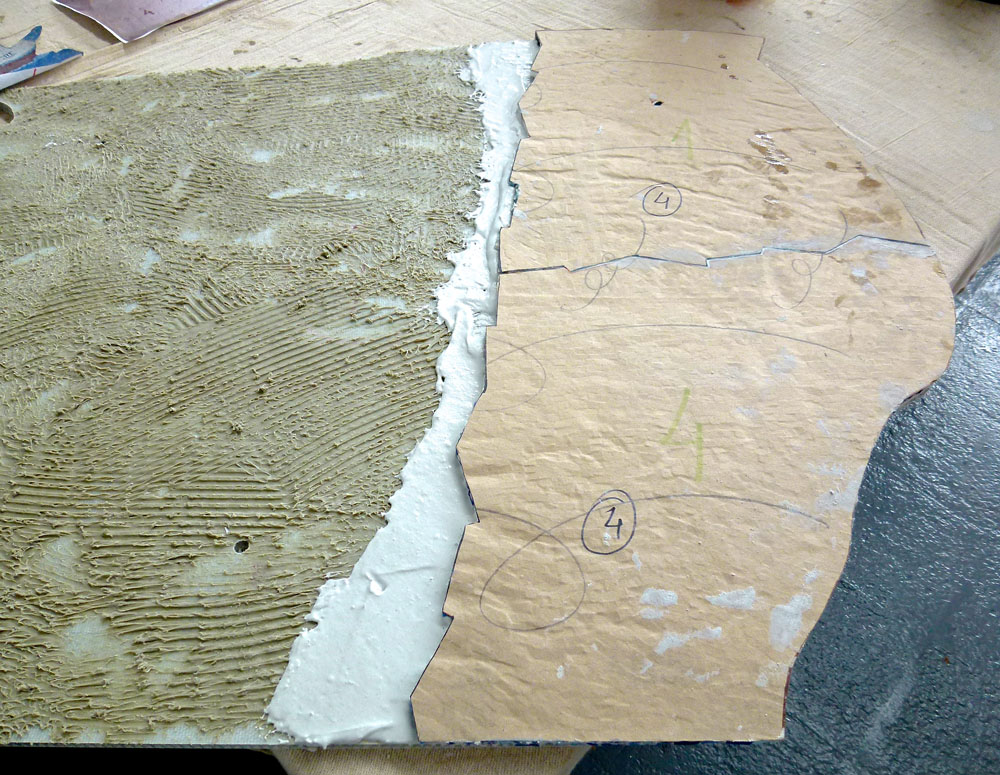
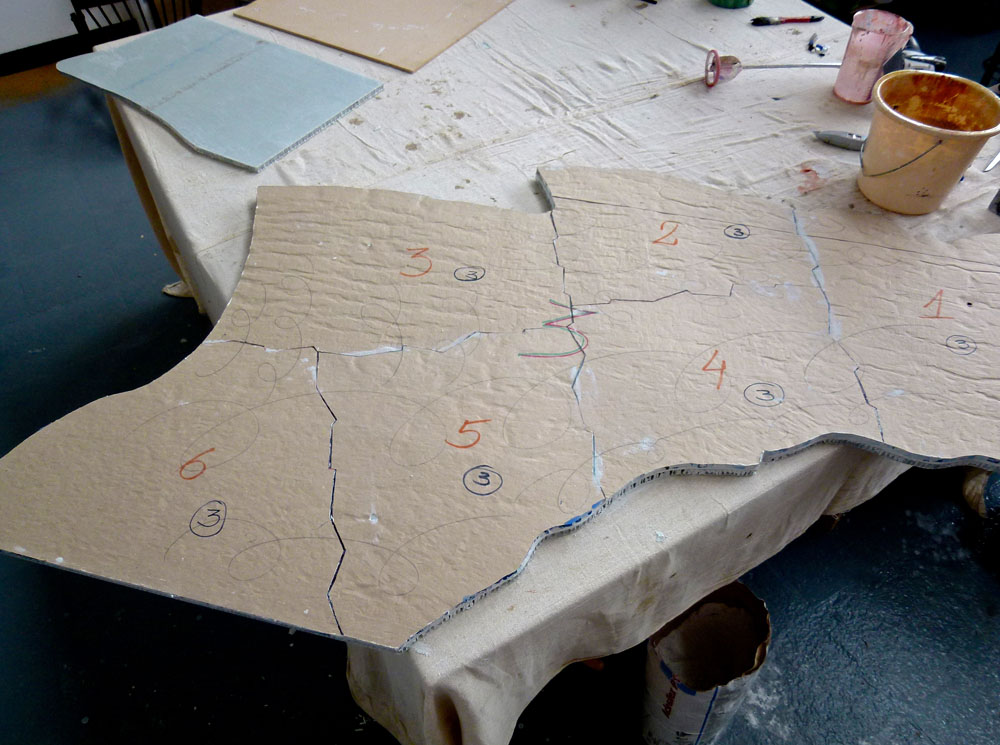
That’s why it will need to be cut in at least four sections and packed individually with special cushioning materials and great care. We don’t want our masterpiece to arrive to its destination in more fragments than we ourselves have decided. It will have to stand a lot of pressure and many bumps, often in the hands of careless transport services. Here the four sections are being traced on the paper, occasionally following natural lines, like the outlines of the sails, but often taking arbitrary paths that nevertheless need to look right to the eye at the very end.
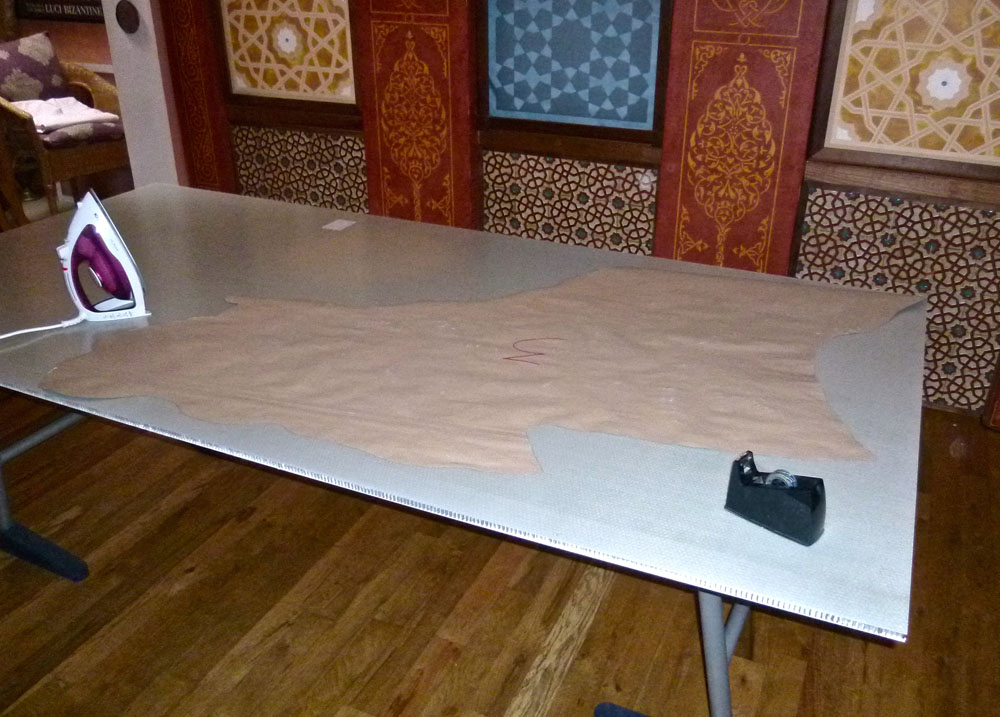
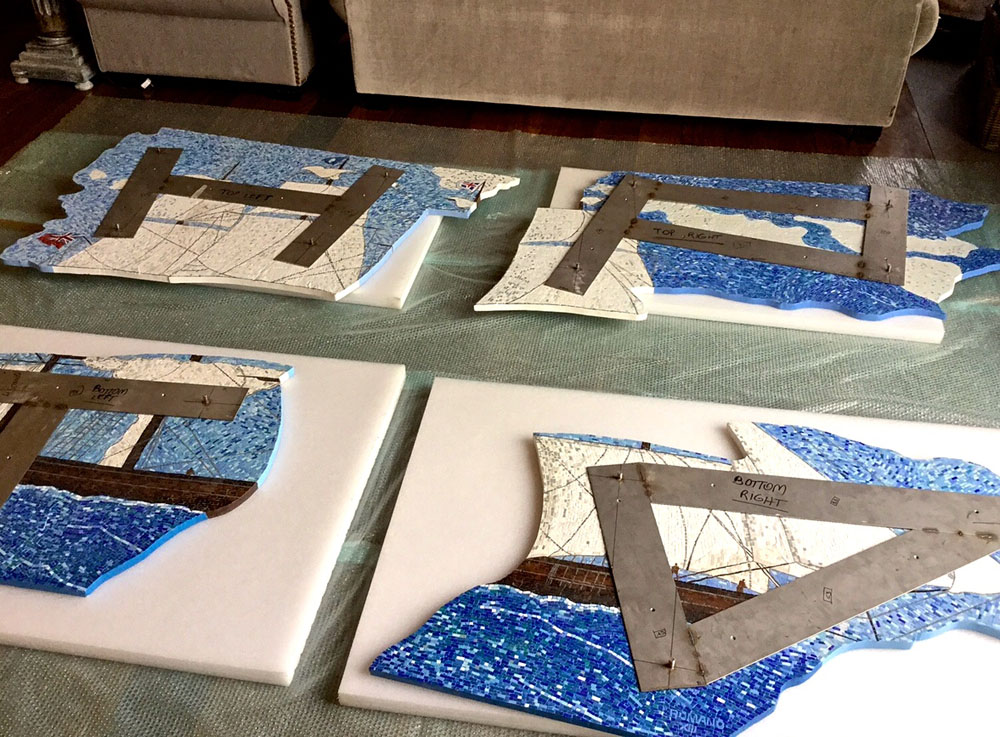
The template has been divided into four sections, cut and (ironed), as well as numbered on the back.
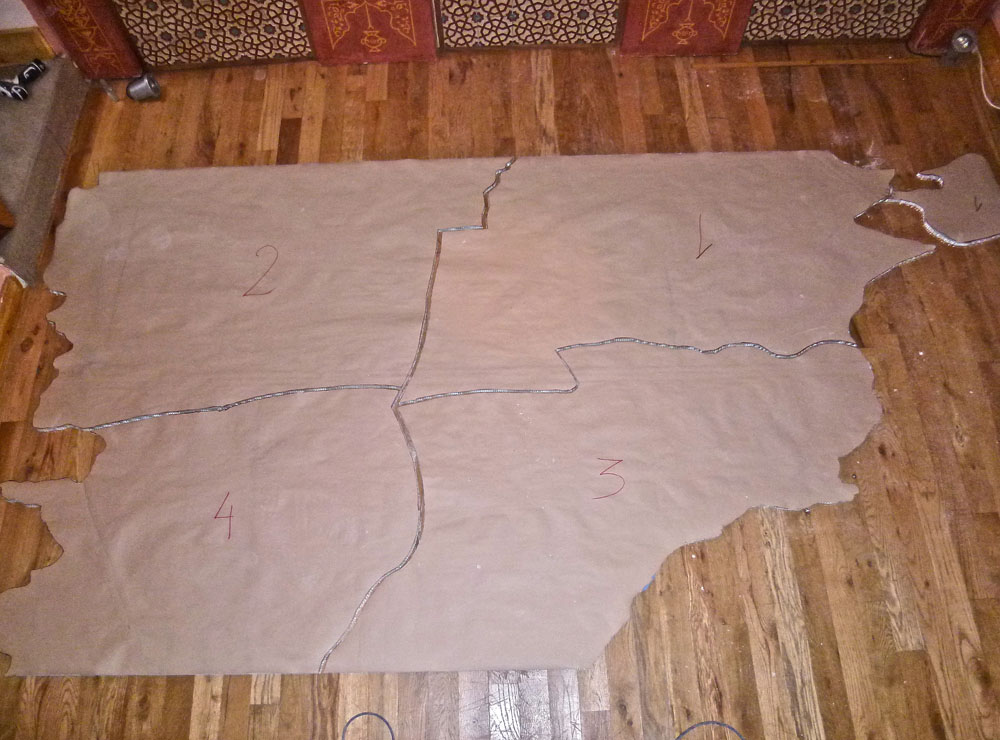
The templates, now, will be used to mark and cut a sheet of Honeycomb, a lightweight core material that will provide enough support for the adhesion of tesserae without absorbing the humidity of the cement, which could make it then vulnerable to the action of time. Traditionally the support has been plywood or eventually primed MDF, but Aerolam, as it is known in Italy, provides both strength and lightness.
The four sections of the support had been cut, numbered and the holes marked where the wall fixings will be placed.
Now we have the four templates put together forming the ‘map’ as seen from the front, before reversing it.
The four pieces of paper are placed over the templates to make sure they coincide exactly.
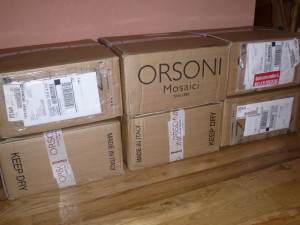
Materials have just arrived from the Venice factory and are ready to be cut.
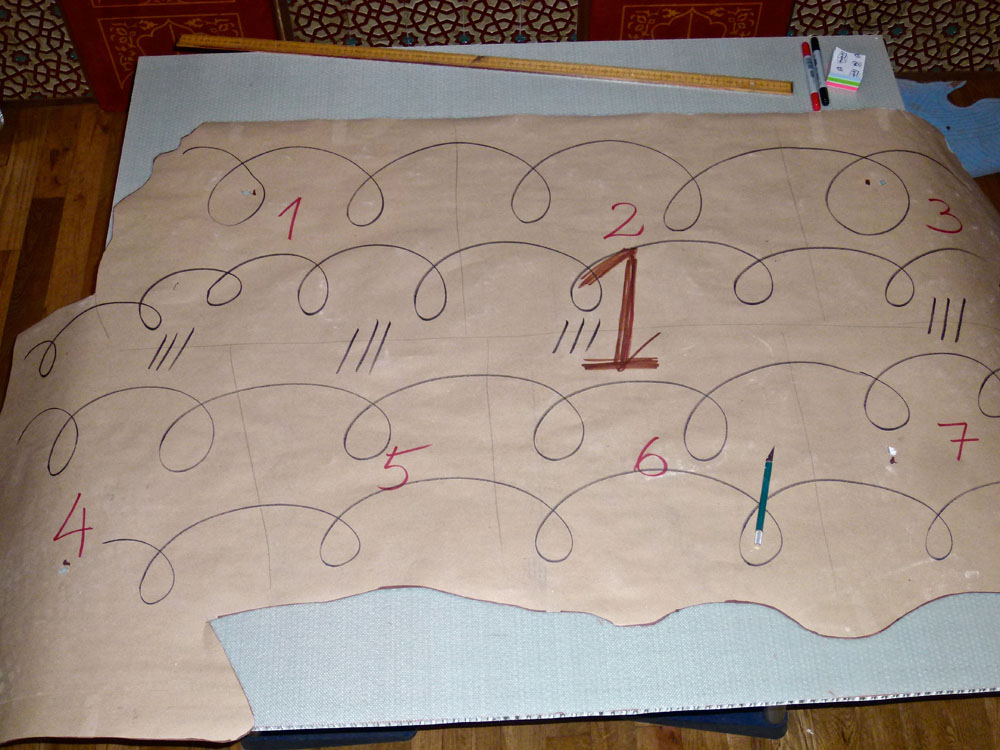
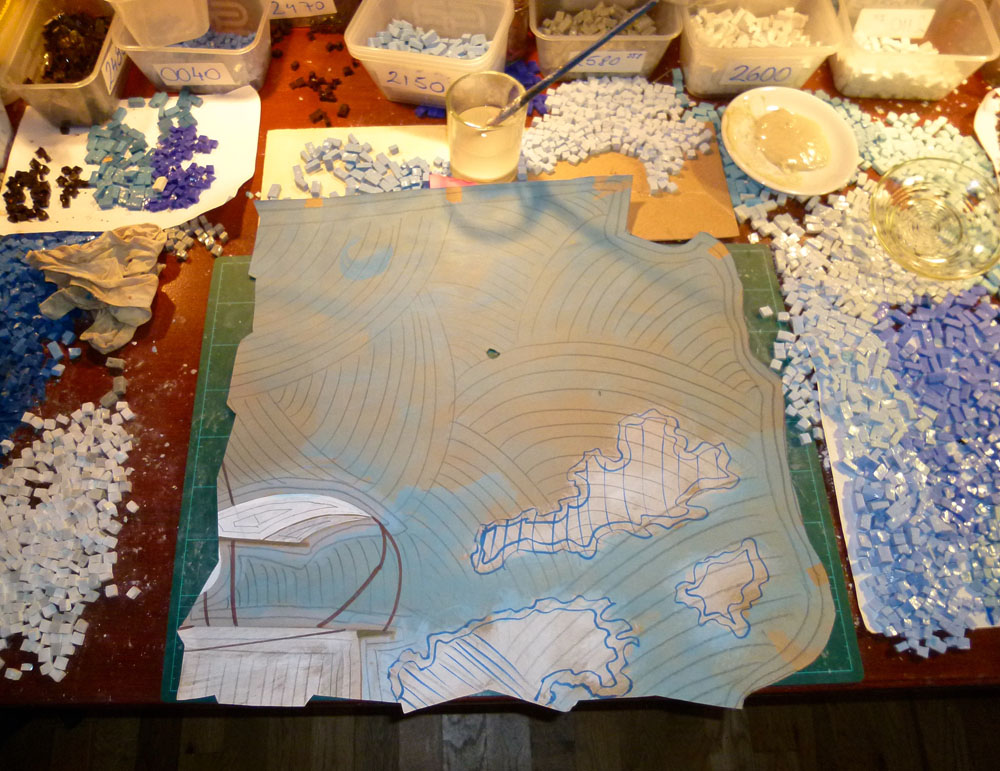
This is one of the four paper templates. I have marked with pencil an approximate position of the smalti (pieces of mosaic), and the inclination. This will help me in the next step as each template will be cut into 5 or 6 smaller sections. When working on each small section, it would be very difficult to guess where the two sections meet and the correct positioning of the smalti would be lost, looking chaotic.

We turn the template down before marking with pencil the approximate divisions, in this case 7 parts. The number 1 stands for the template N 1 (of four in total). The 1 to 7 are the parts in which the template N1 will be cut. Now we proceed to draw spirals from one side to the other. This will help us later on to adhere the seven parts onto the support, using the spirals as a reference for better accuracy during the positioning of the parts.
The divisions of the template cannot be straight lines, this would make the joints very obvious to the eye. So we mark them in a sort of chainsaw fashion, alternating the diagonals. Every part will be numerated from the back with a small piece of paper for correct identification. We proceed to cut with a Stanley knife.
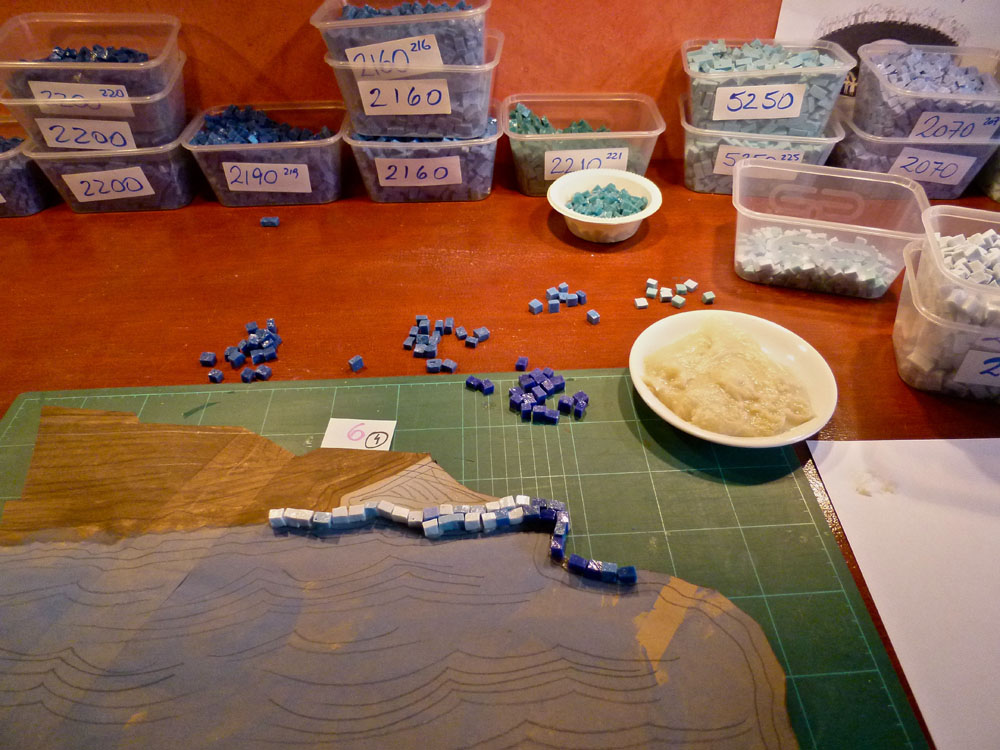
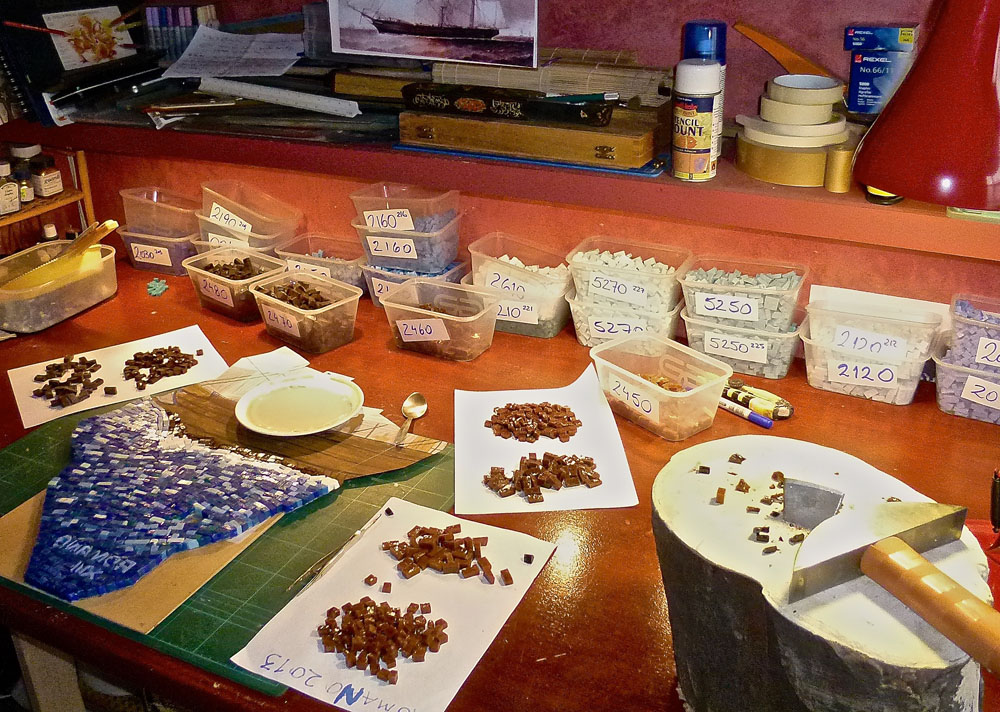
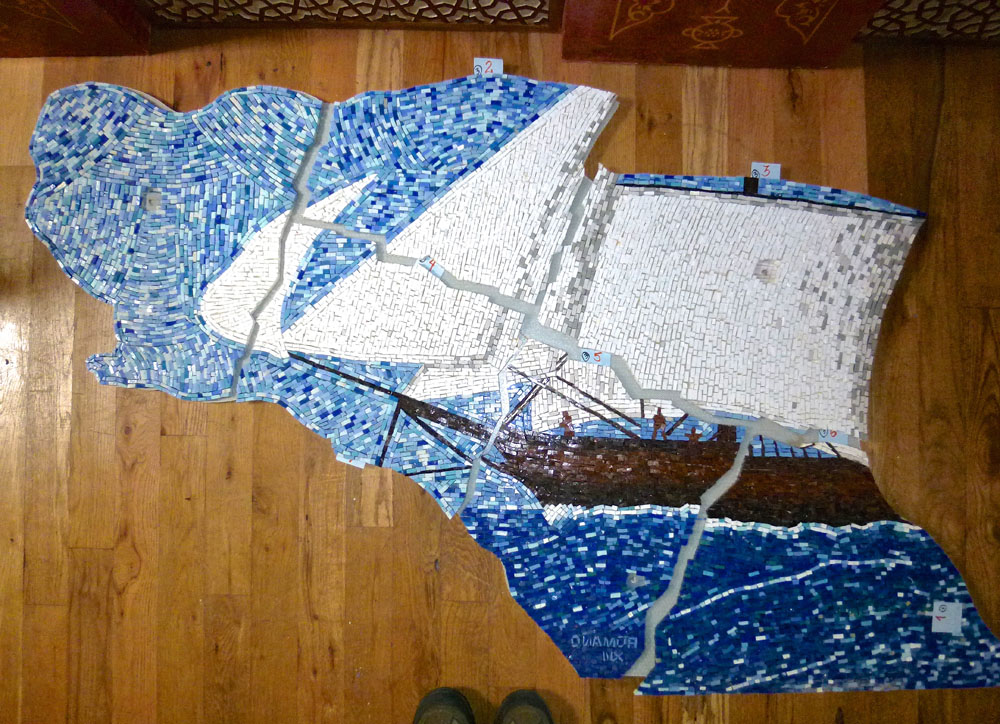
This is section 6 of the template N4. I am going to start sticking the smalti onto the paper, following the direction of the lines drawn with pencil. The smalti has been cut into small bits. A pre-cut smalti, as it comes from the factory, has a rectangular shape. We want to cut it in two or even three parts, although we can also use some big pieces as well to vary our composition.
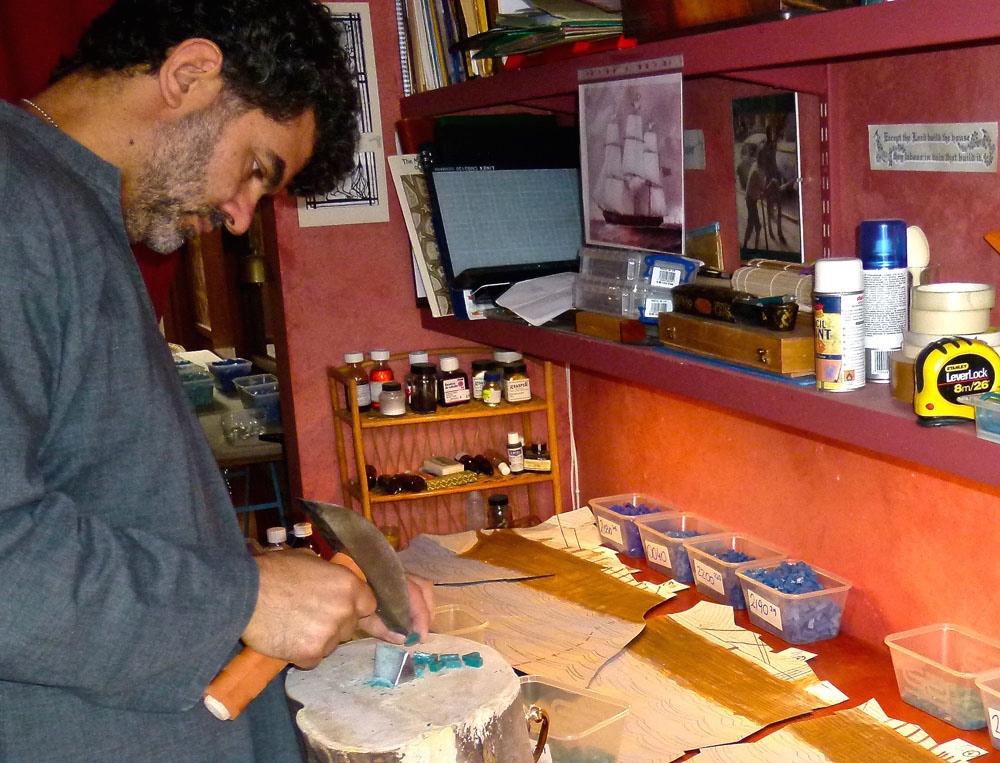
The cutting is done by using a special hammer (Martellina) and a steel hardie (Tagliolo) buried in a piece of wood or a tree trunk. With practise, the cutting function becomes second nature and precision increases with time. Do not desperate if at first the cut pulverises the glass, as it takes considerable effort to get used to this new tool.
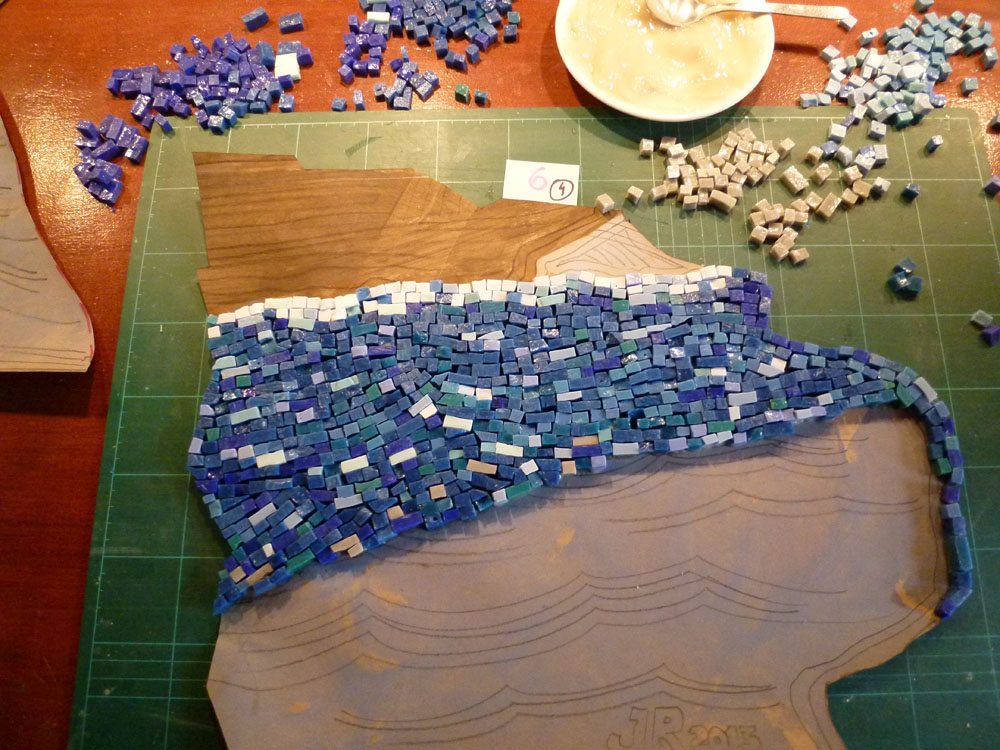
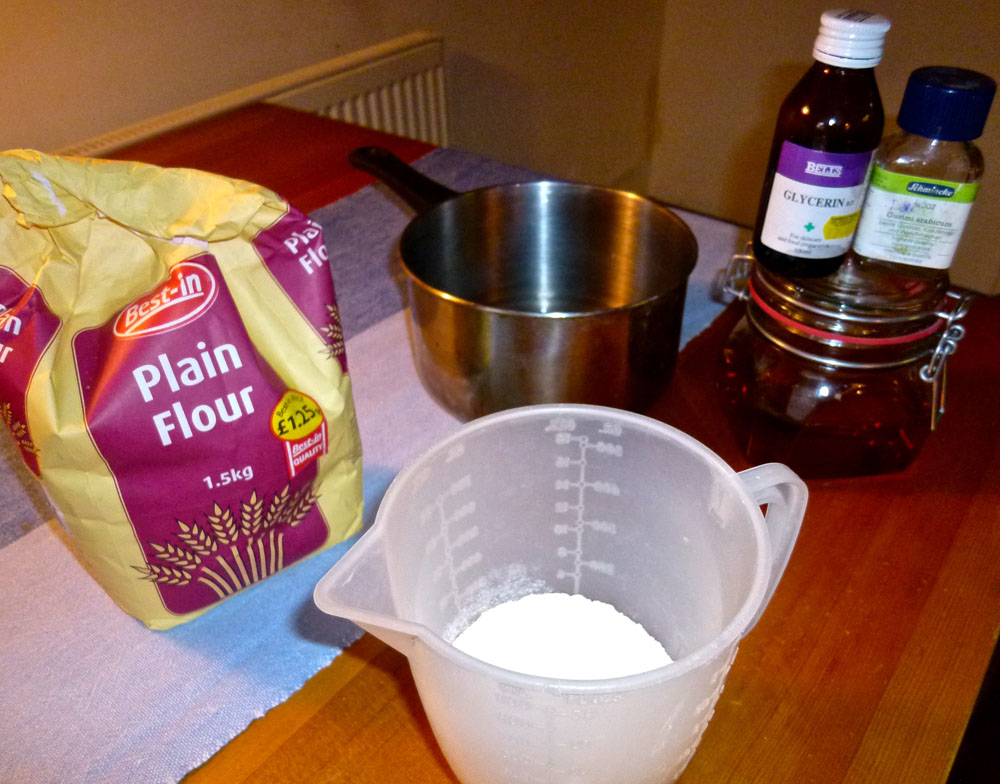
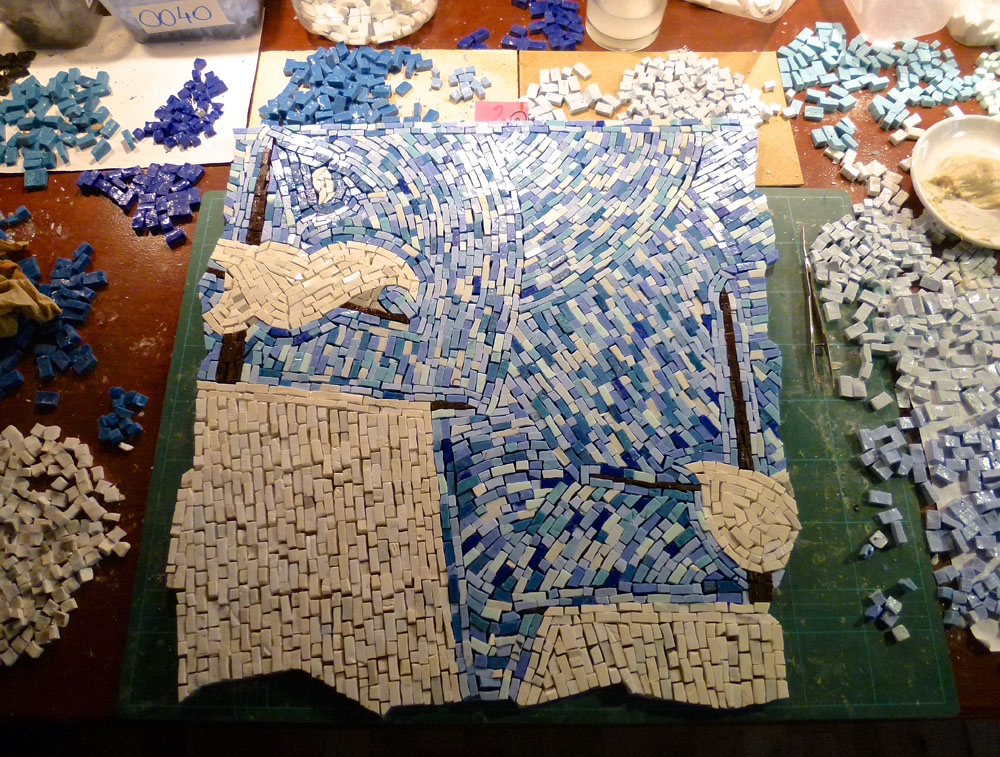
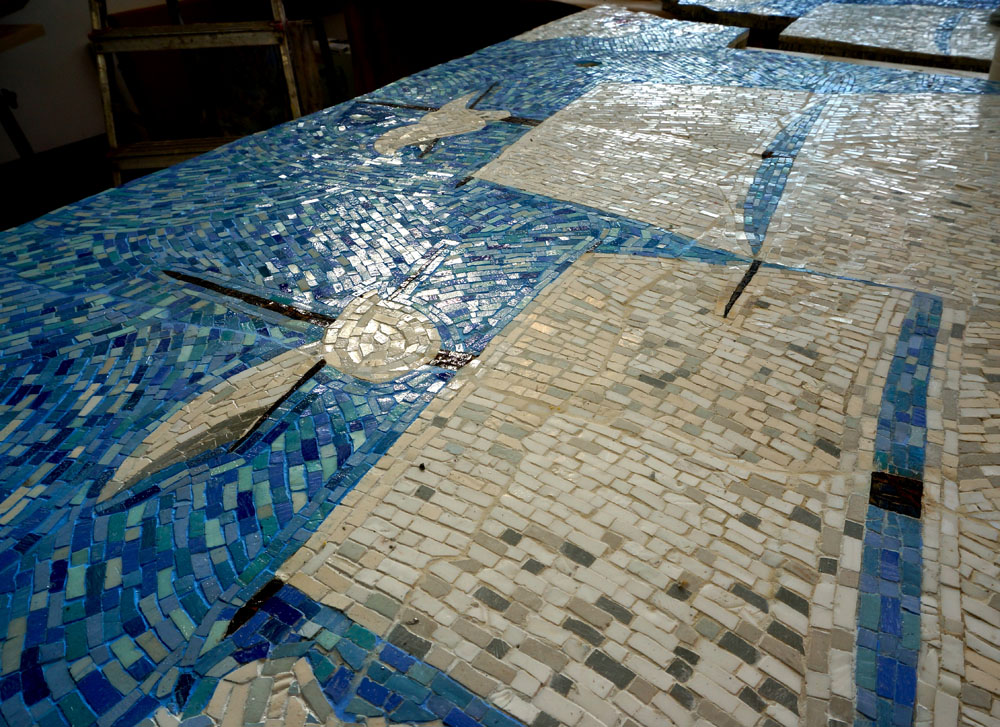
Here you can see the effect of aligning several rows of tesserae, alternating the colors to create the effect of movement of the sea waves. The glue is a homemade “impasto” made of flower, water, honey, gum arabic and glycerine. Apply a small amount of glue on each piece of smalti and stick it to the paper with a firm pressure.
Glue components. Always prepare a small amount of glue as it does not last too long, maybe three or four days, even if stored in the fridge.
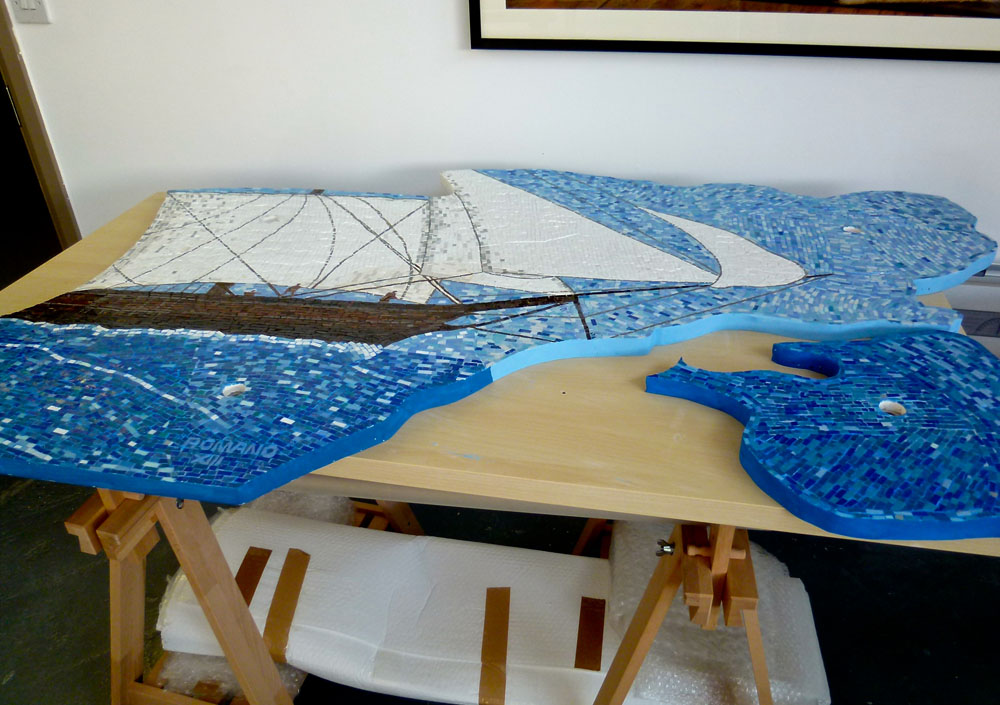
The sea area of the first piece has been finished, including the author’s signature and date, which should be read in reverse.
Another section of sky and clouds. Note that the clouds, as well as other items, have a border of smalti going round the shape to delineate the perimeter.
This section has been completely filled and it’s ready to be stored. It is recommended the use of a hard support like a wooden tray or similar for storage, to avoid deformation as the glue sets.
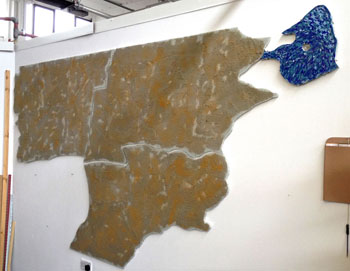
A few sections put together over the Aerolam support. We can see the irregular cuts between sections as well as the holes made for the bolts that will fix the mosaic to the wall.
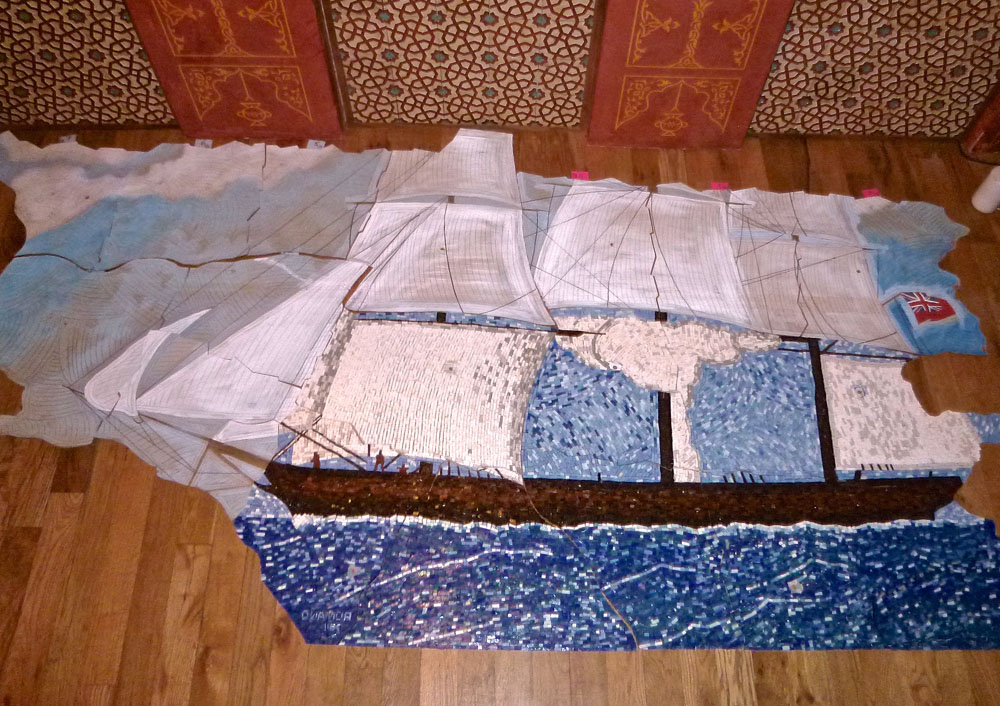
Putting together some finished sections with the paper templates can help to visualise the whole.
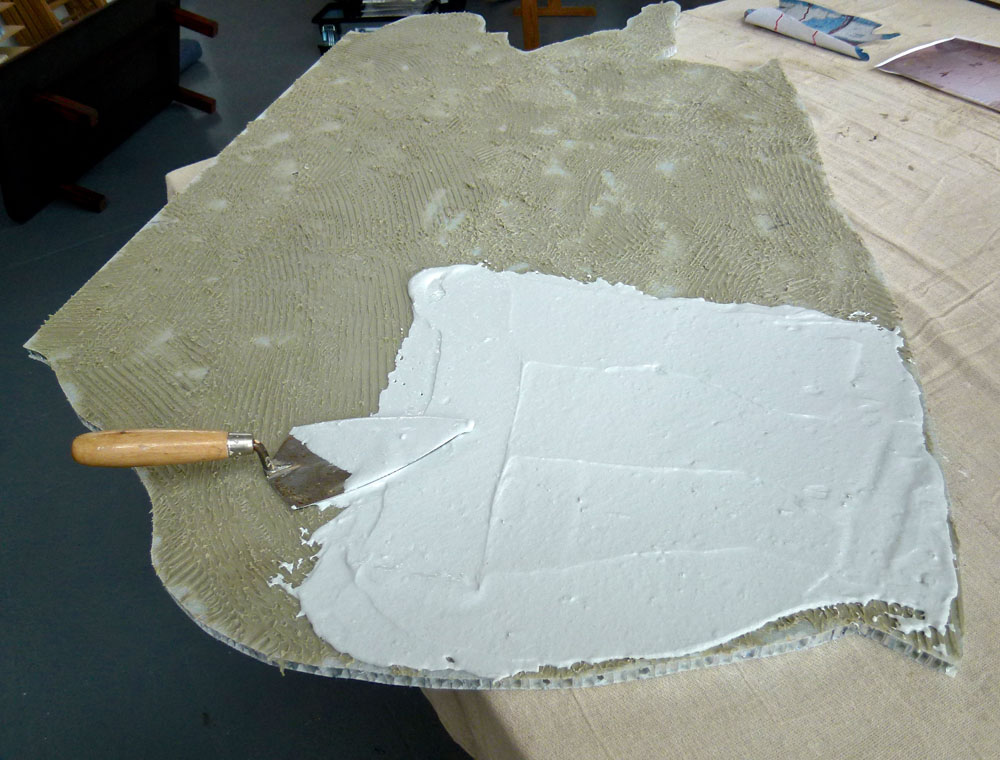
The Aerolam support needs to be conveniently primed before the tesserae can adhere to it. We can use an epoxy resin based on two components spread with a special blade. Before it dries completely I sprinkled sand over it. This would make it rough enough for the tile adhesive to adhere, creating a key for the binding of the various elements.
Here we can see the ‘map’ with its sections marked which can give us an approximate idea of what we will get.

After the priming of the support and one small section already glued to it.
Individual sections can be stored in these tray tower, allowing drying but also helping to identify each piece when needed.

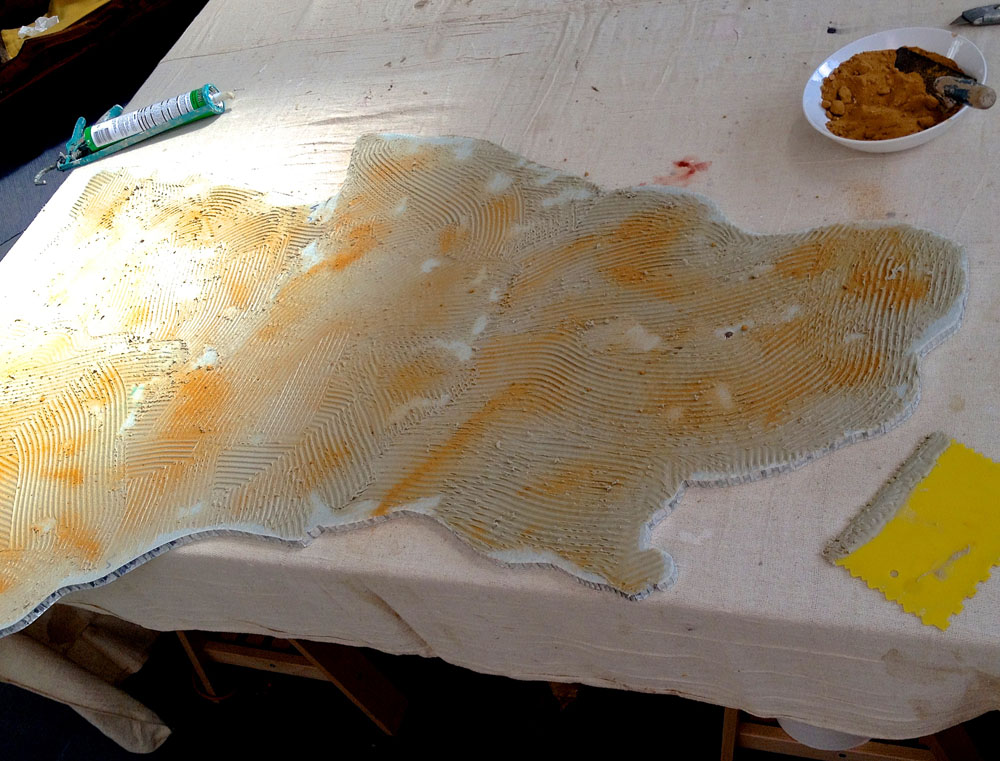
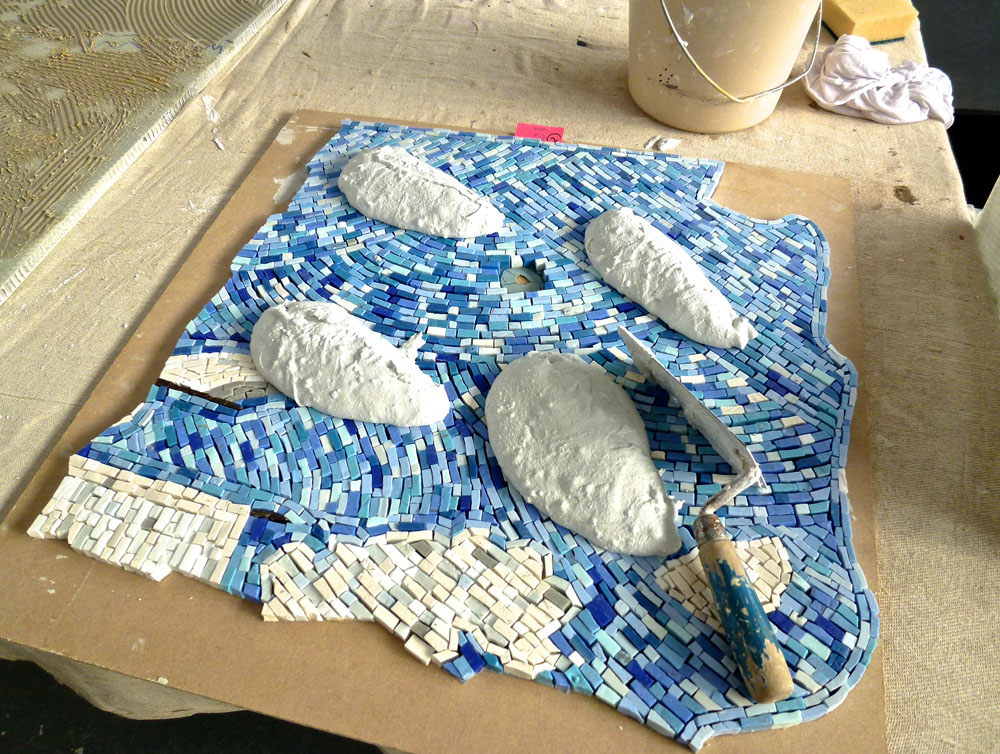
When the primer is completely dry we can apply the ceramic tiles adhesive. A thin layer spread evenly both on the support
and in the back of the mosaic section to ensure complete adhesion.
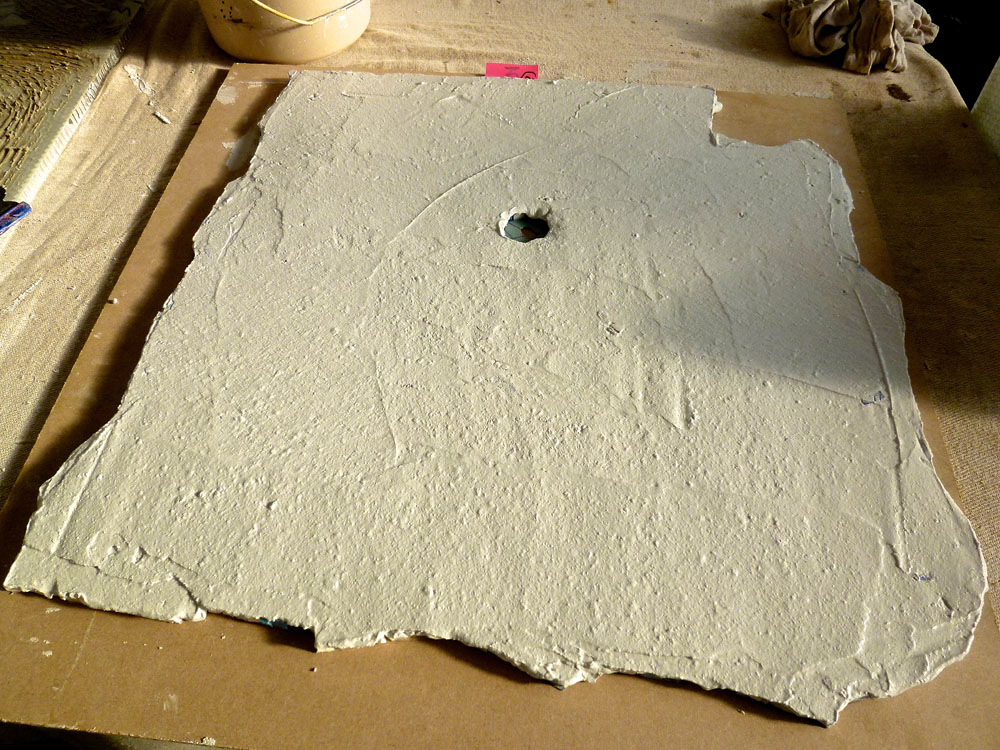
Here how it looks like. Make sure the whole for the bolt is free from adhesive.
Once it’s ready we can join them making sure the edges and joints are perfectly aligned using as a guide the spiral marks made in pencil on the back of the paper.
Panel finished. It is not possible to join completely all the sections, the gaps will have to be filled from the front with grout.
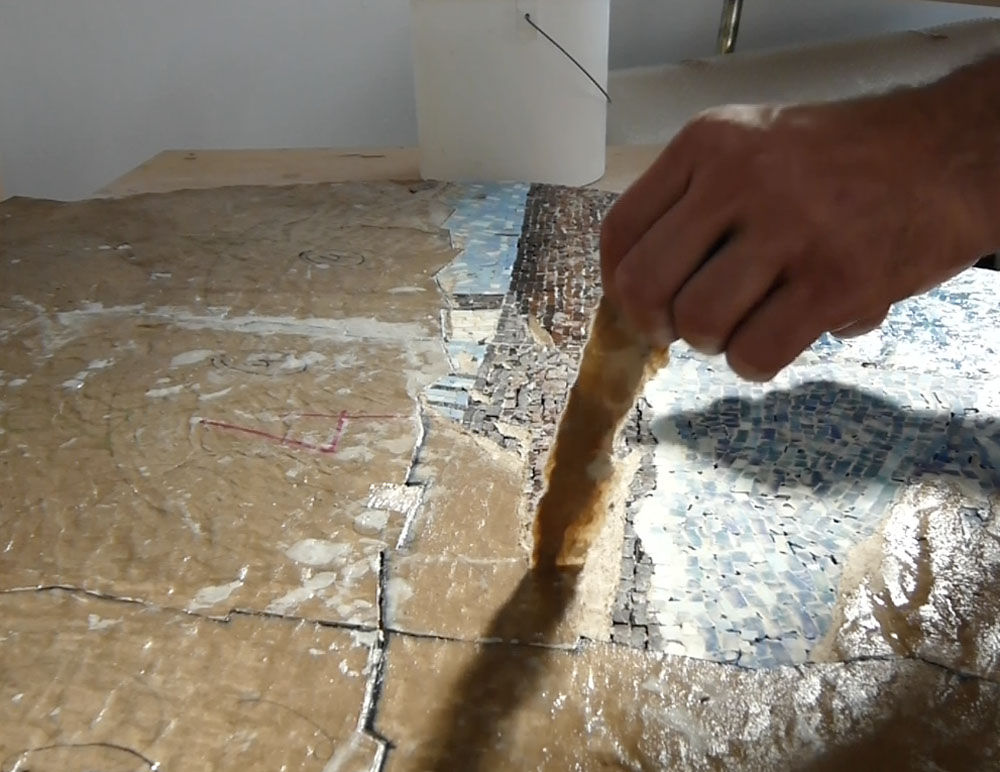
Once the cement has completely dried, usually in about 24 hours, we can proceed with the peeling of the backing paper. For this we use a sponge wet in hot water, rubbing the surface several times. When the paper starts to soften, we can peel it off with the help of a Stanley knife or a blade. Sometimes it takes many applications of hot water.
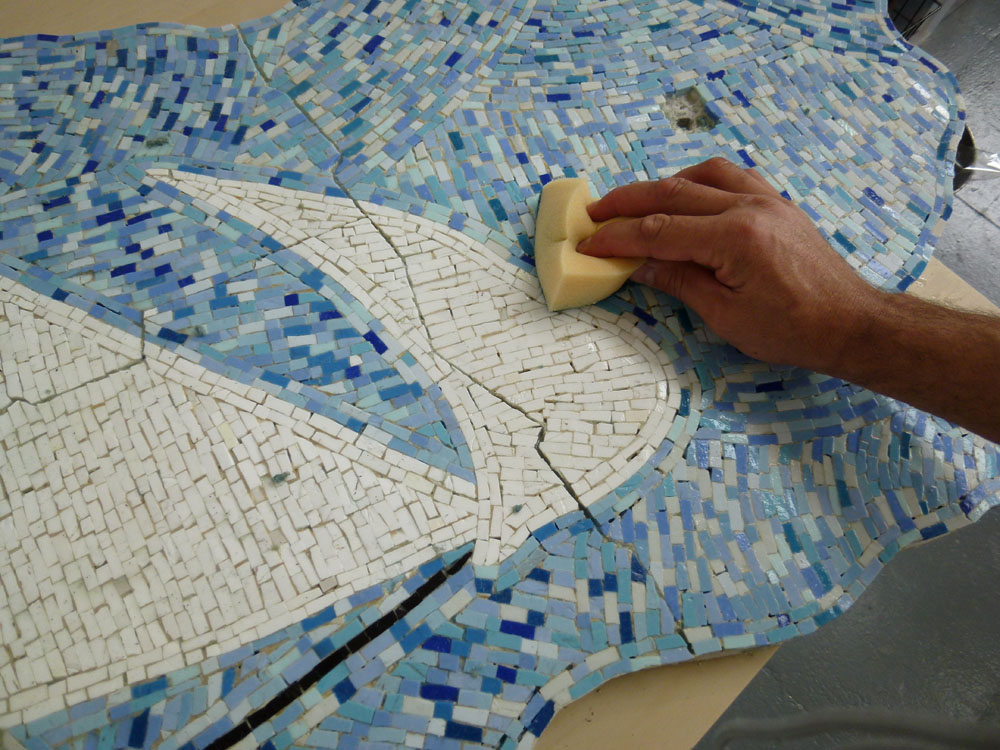
We proceed to clean up the surface with a clean, wet sponge with as many applications as necessary, until the grout used to fill the gaps has been completely removed.
After the grout has dried, we apply acrylic washes in the same colours we wish to enhance, giving more intensity to the background. The excess of paint can be also removed with a damp sponge.

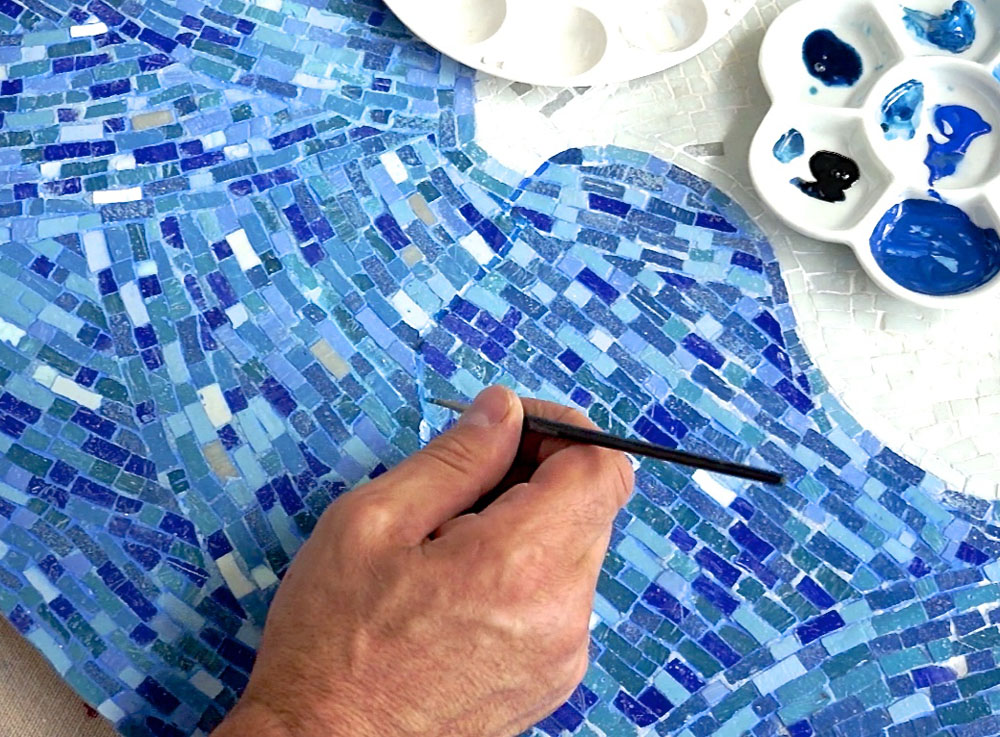
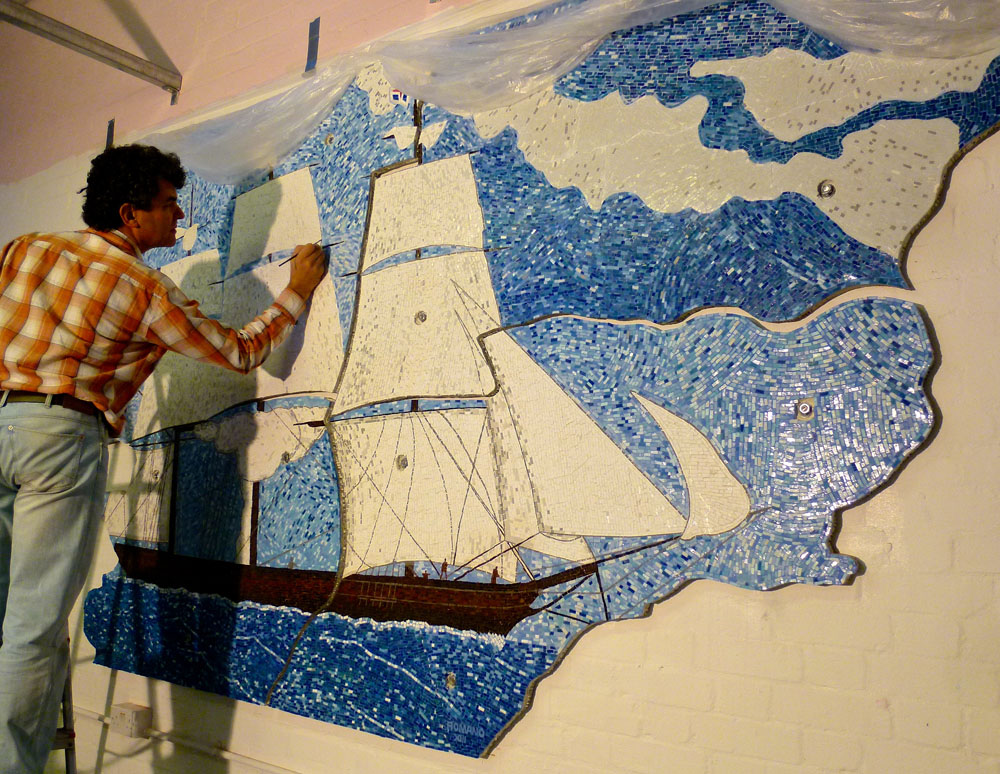
Using acrylic paint diluted with water and a fine brush we can touch up the white grout joints using different shades of blues (in this case) as if replicating the small bits of mosaic.
The edges too need to be filled with grout or any wall filler, with a minimum of two applications. After sanding down to a smooth finish, they can be painted matching the colour of the mosaics above. Transparent water based varnish can be used for protection.
With a cotton cloth it can be applied a thin layer of bees wax to further enhance the sheen of the smalti.
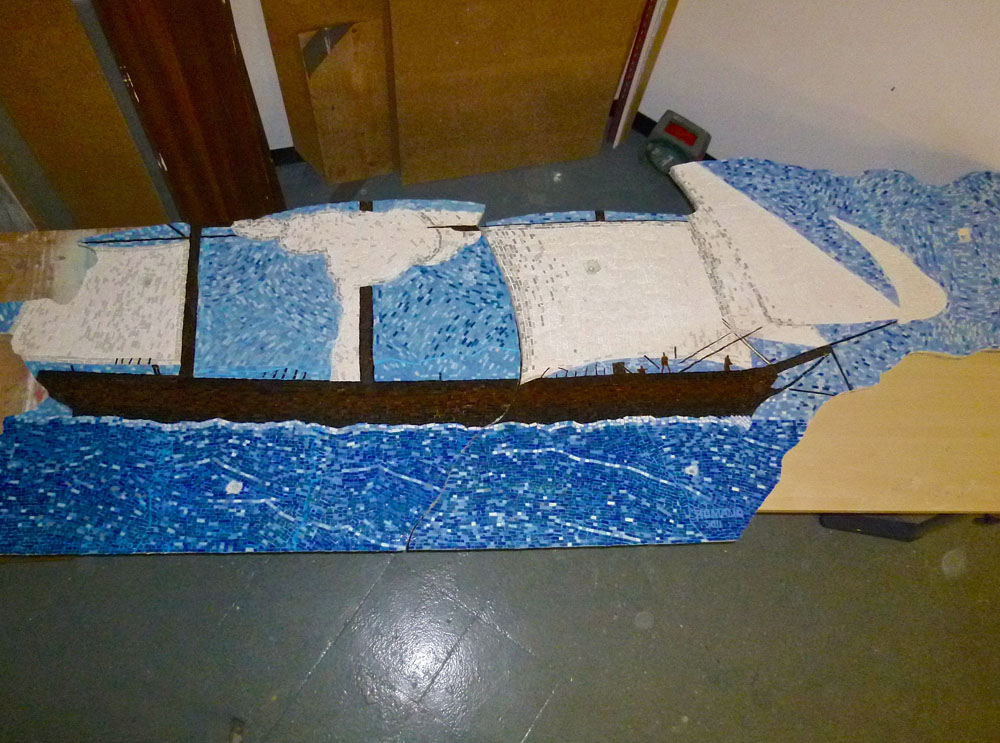
Here we can see two panels together to have an impression of the whole.
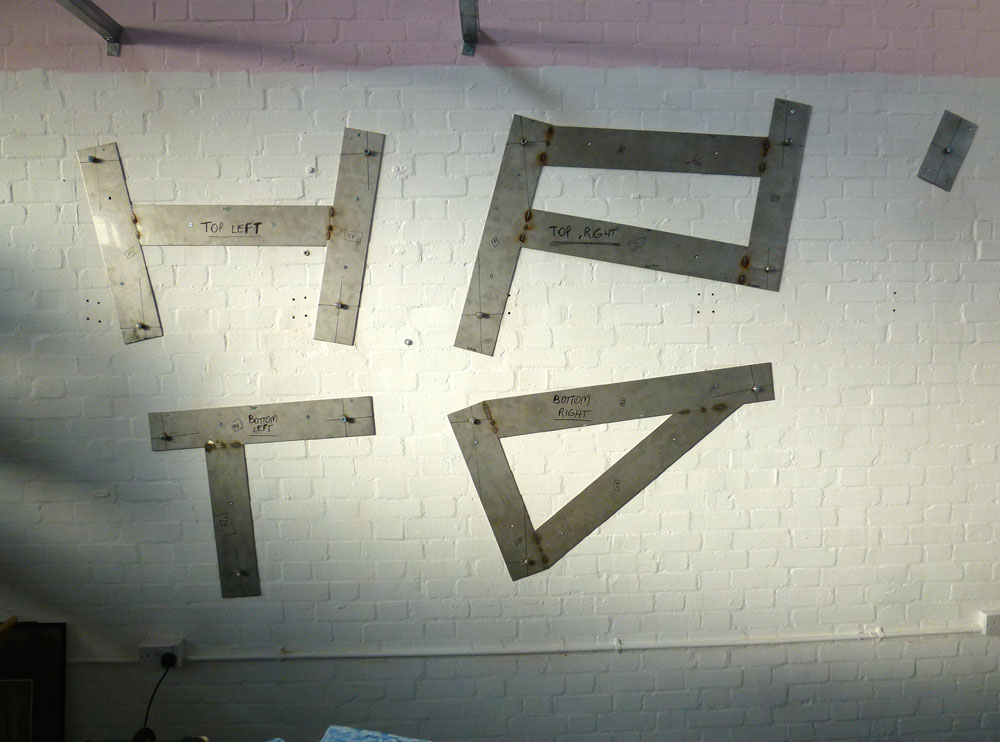
The fixing aspect has taken me some trouble but finally with the help of a skilful metal worker, we managed to put together five stainless steel brackets that would hold the 40-50 kilograms each panel weighed. The brackets were fixed to the wall of my studio with long screws, for a preliminary test. If it resisted, we will go ahead. No accidents were permitted at this stage as the mosaic would be shipped to South America and no further changes could be applied to it.
Using the paper templates as a guide, we proceeded to drill the holes onto the brick, and once the brackets were in place, we positioned the five panels onto the bolts, fixing them with nuts.
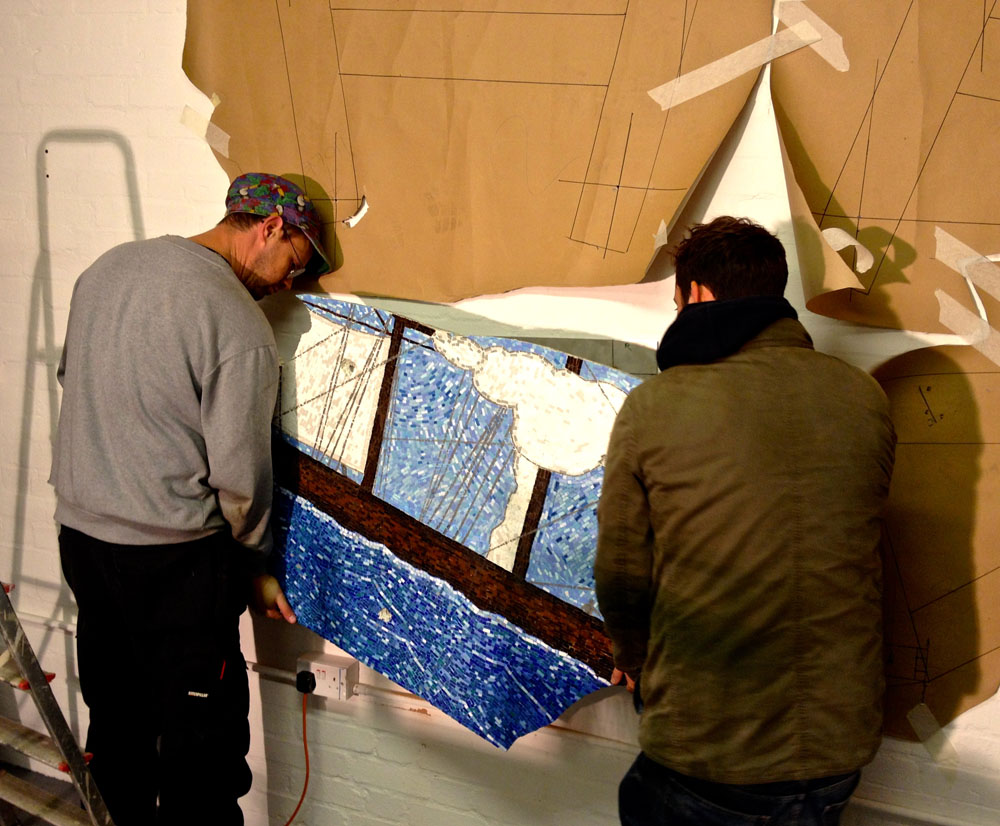
And so the rest of them..
It looks good although some minor corrections in the positioning of the panels will be needed on site as the gaps between them should be equal.
Touching up with acrylics as well as filling the bolts holes with wall filler.
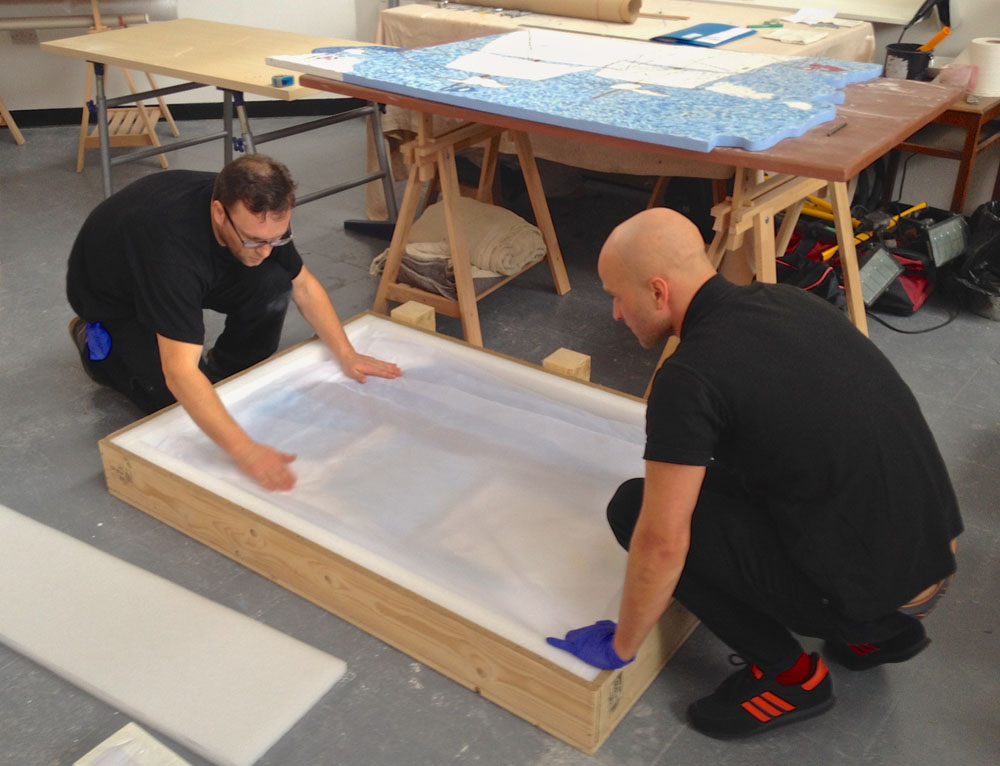
A professional Fine Art Moving company takes care of the packing and shipping.
Each individual piece is carefully wrapped in cushioning materials and placed into a sealed wooden box, ready for transportation.
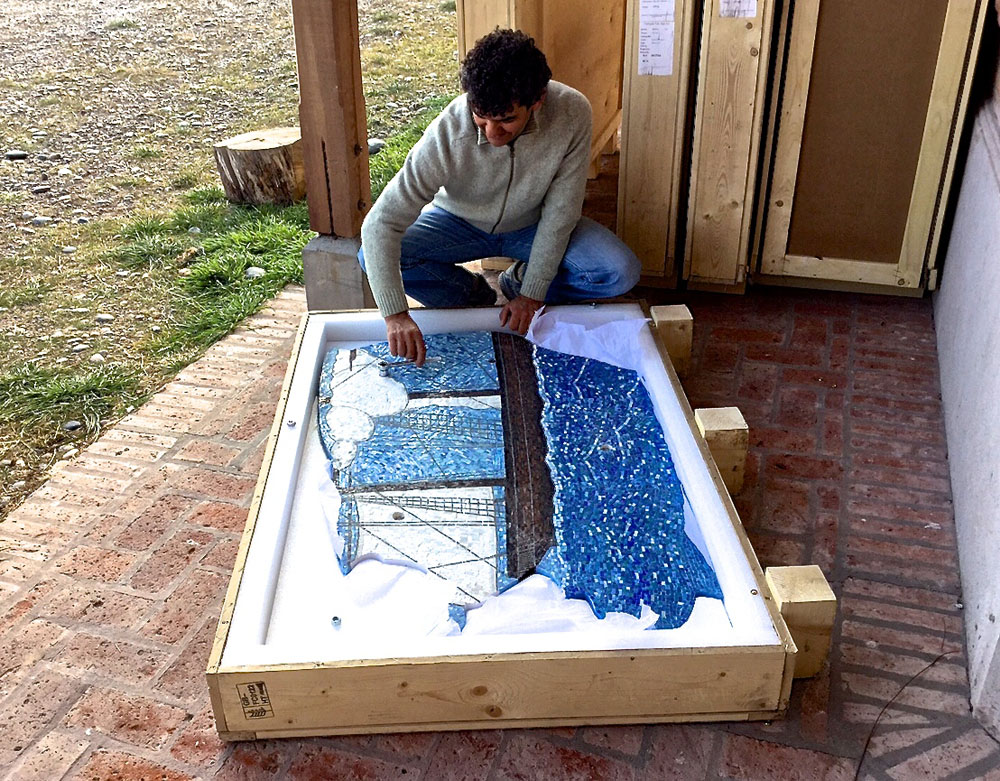
Unpacking on site in Argentina, two months later, without problems..
Getting ready for the installation..
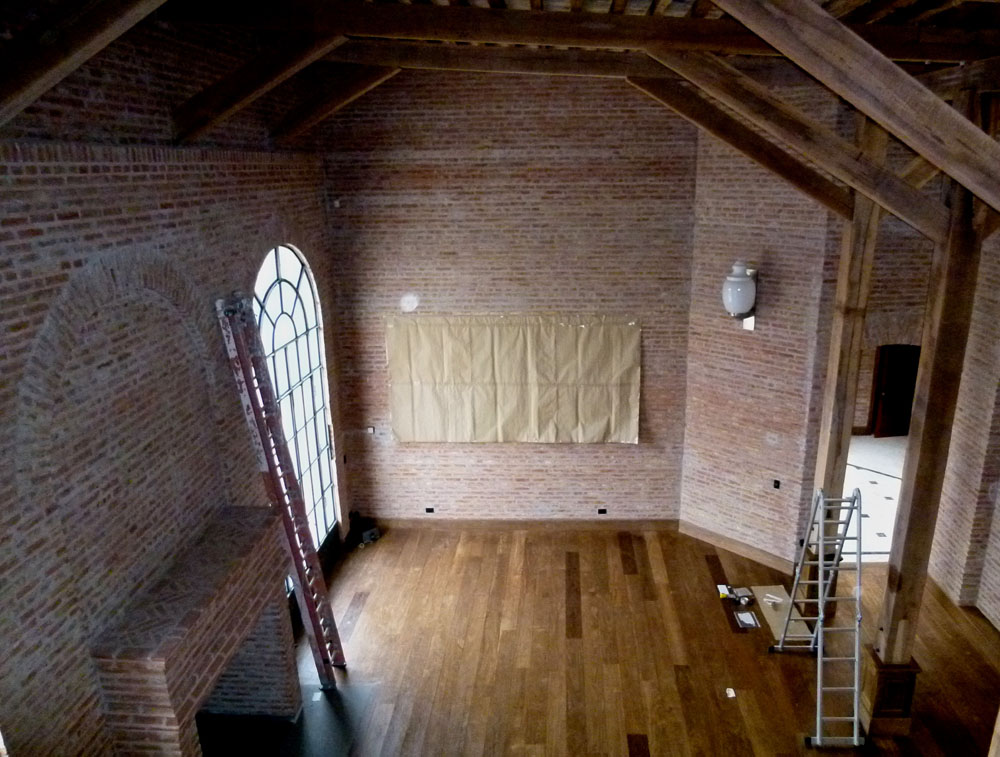
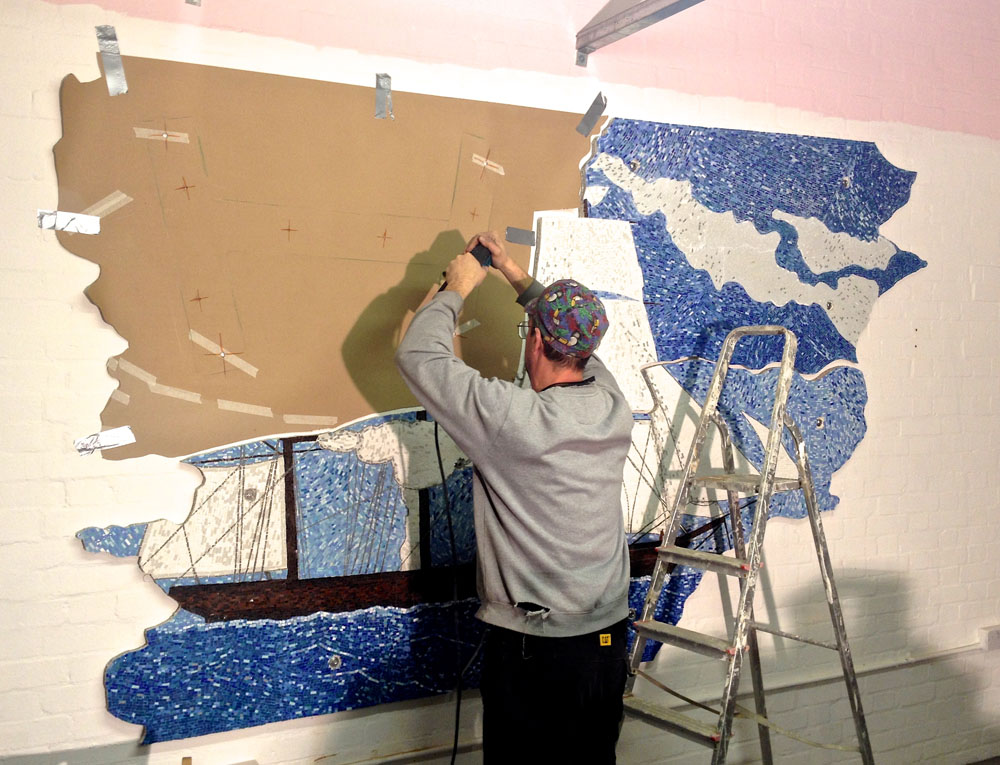
The paper templates were again fixed to the wall in the exact position ready for the drilling and the positioning of the brackets.

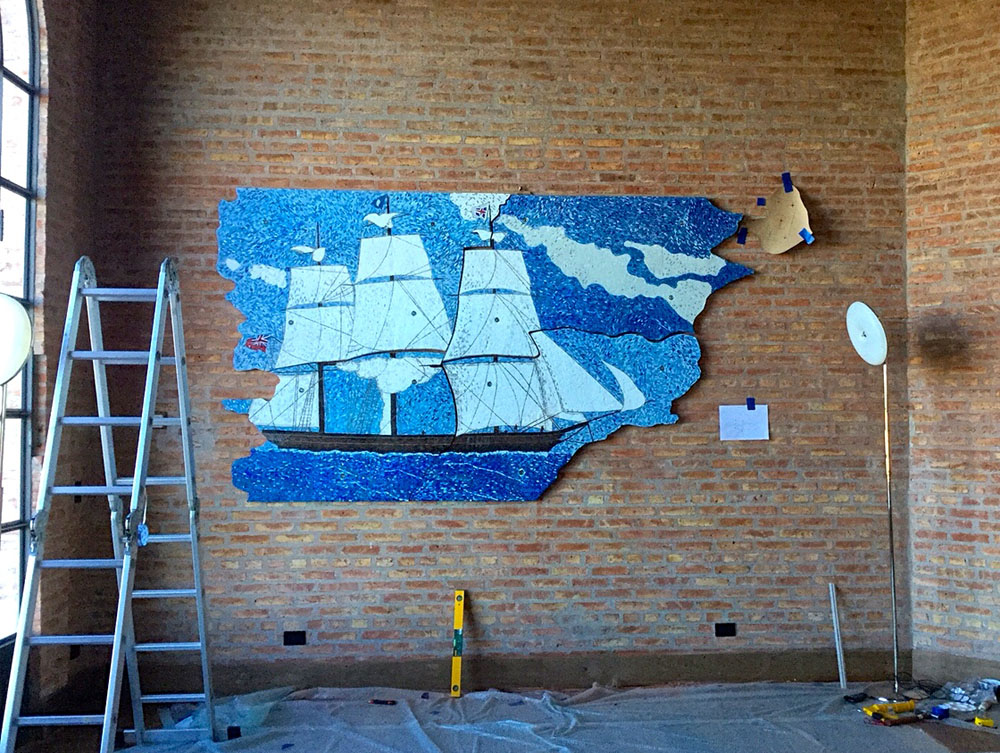
First panel in place..
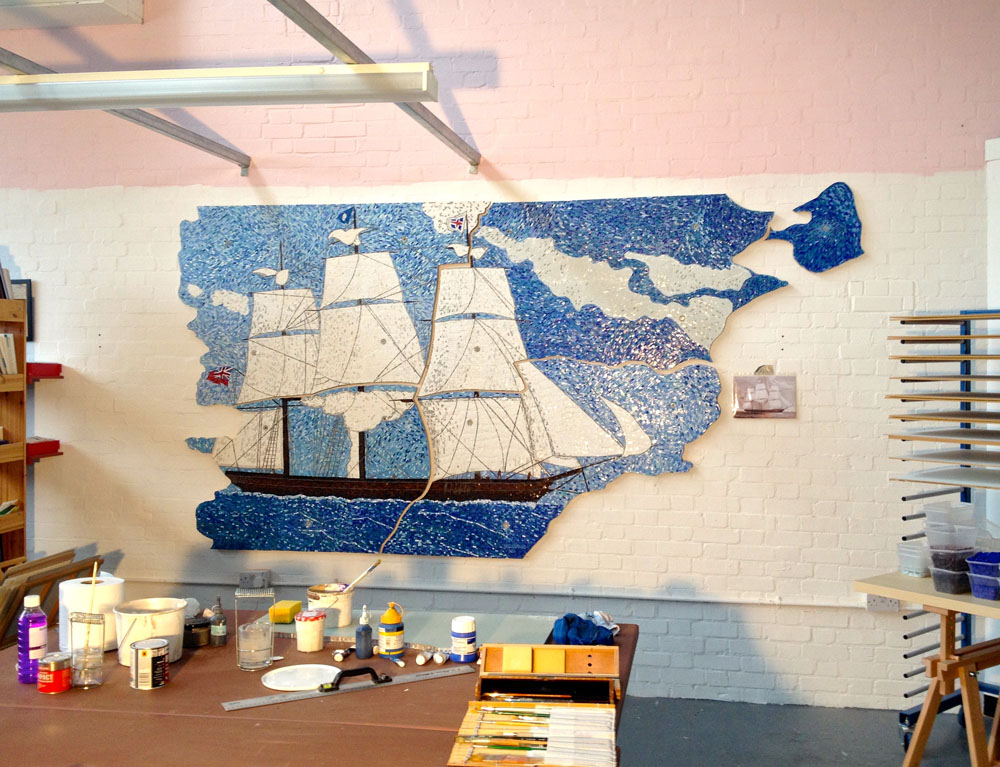
Almost done..!
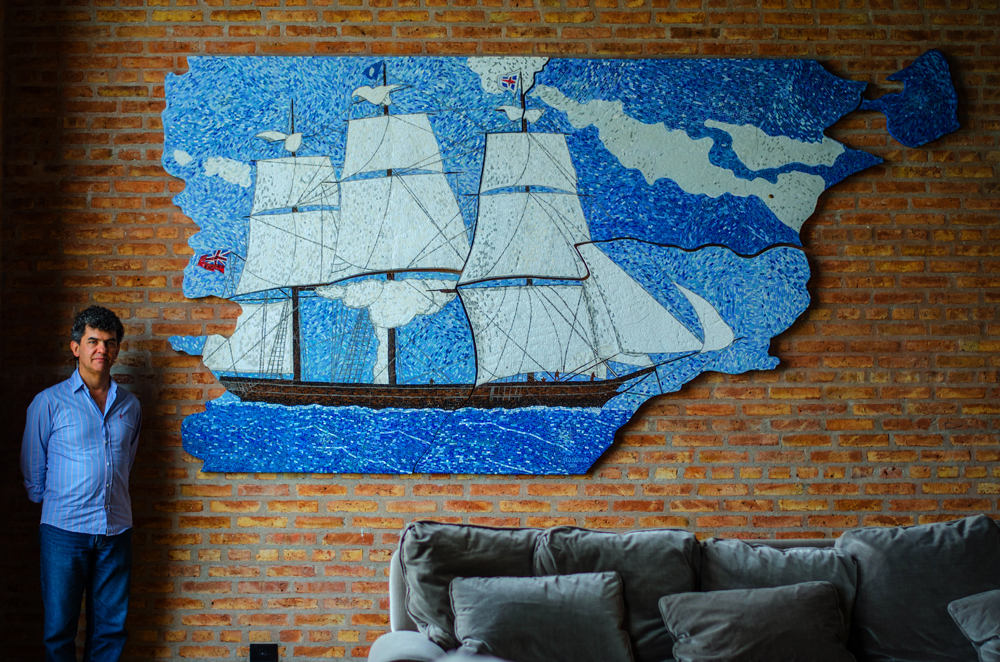
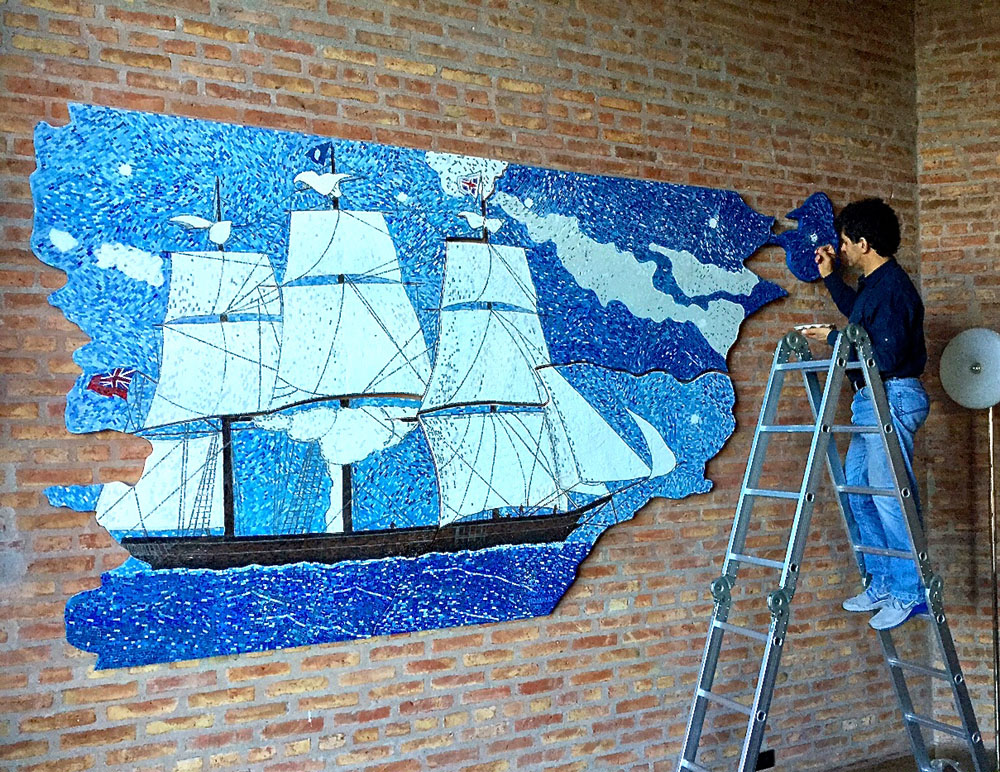
All in place and now it’s time to fill the holes with wall filler, let it dry and paint with acrylics, matching the small pieces of smalti in a variety of blues and whites.
That’s it! The warm effect of the up-lighters adds a touch of timeless nostalgia.
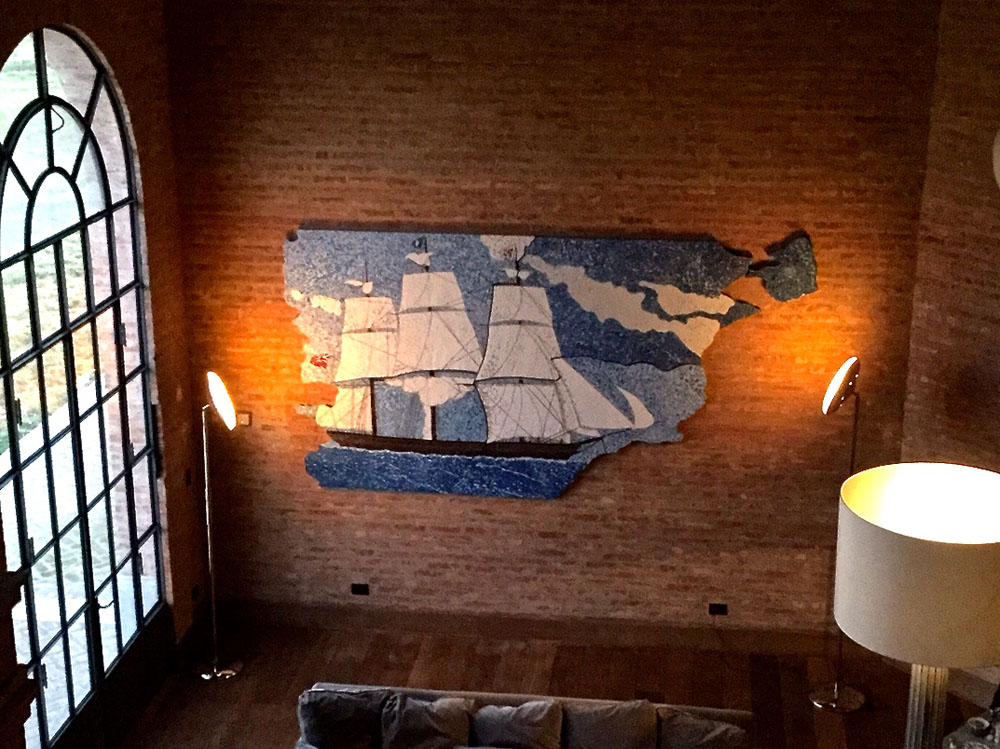
I hope you enjoyed the process.
Thank you for your attention.

